It’s the last week before the big reveal next week on the $100 room challenge and I made huge progress in the room this week!
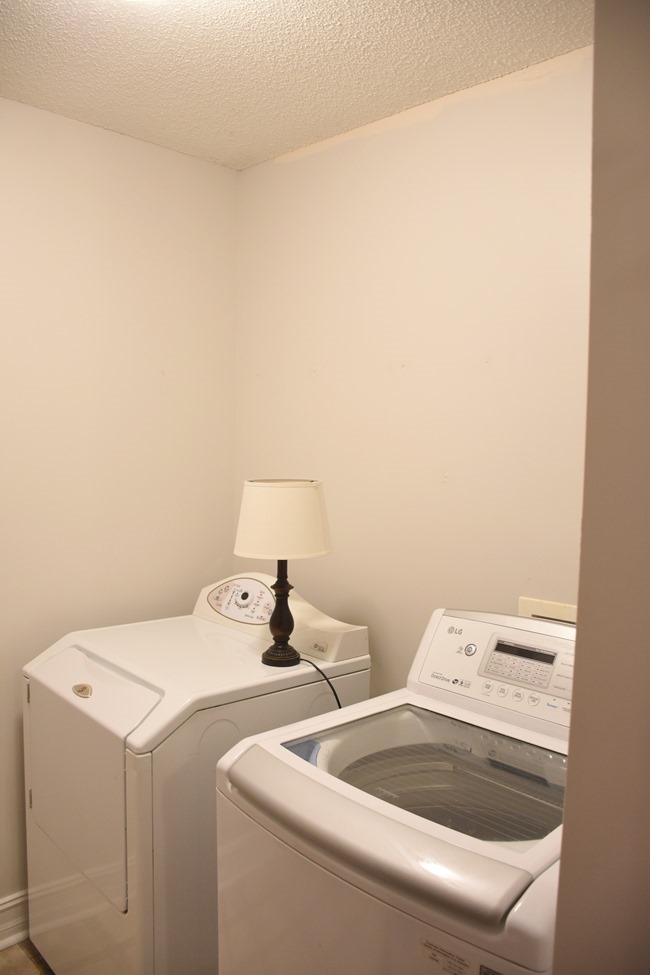
Here’s what the room looked like after a fresh coat of paint and removing the one wire shelf that was here above the washer and dryer (you can go back to the first week to see all the before pictures)
And here’s how it looks now! Yes, there is SHIPLAP in my laundry room! ![]() I figure why not have fun with the room since it is the laundry room and anything that can help make me smile during all those loads of laundry is a huge plus!
I figure why not have fun with the room since it is the laundry room and anything that can help make me smile during all those loads of laundry is a huge plus! ![]()

So let’s go back and see how we got here. A while back I had found 2 cabinets in a size that would work at the Habitat store and they’ve just been sitting waiting for me to get a chance to work on this room. I think I paid $45 for both of them with a discount they had that day. I added a board for a spacer on each side allowing the doors to open fully and we drilled screws into studs to hang them.

I had already planned to put a shelf right on top of the back of the washer and dryer so I realized that would give the perfect stopping point to do shiplap in between the cabinets and I just happened to have 3 strips of leftover “faux shiplap” left from my daughter’s nursery. I used 8 inch strips of plywood in her nursery but in order to have enough to do in here I ripped it down to 4 inches wide and I had just enough! I used a nickel for a spacer between the strips of plywood and just nailed them up – you can see a full detailed tutorial on how to install shiplap using plywood planks in this post.
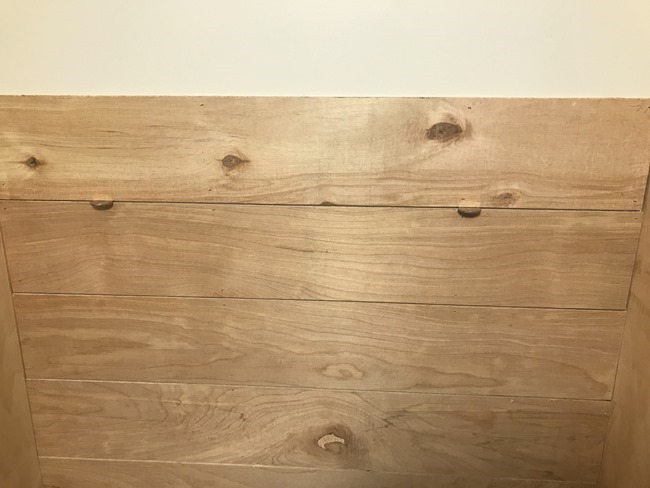
So then I was left with this! I caulked seams and nail holes and then painted.
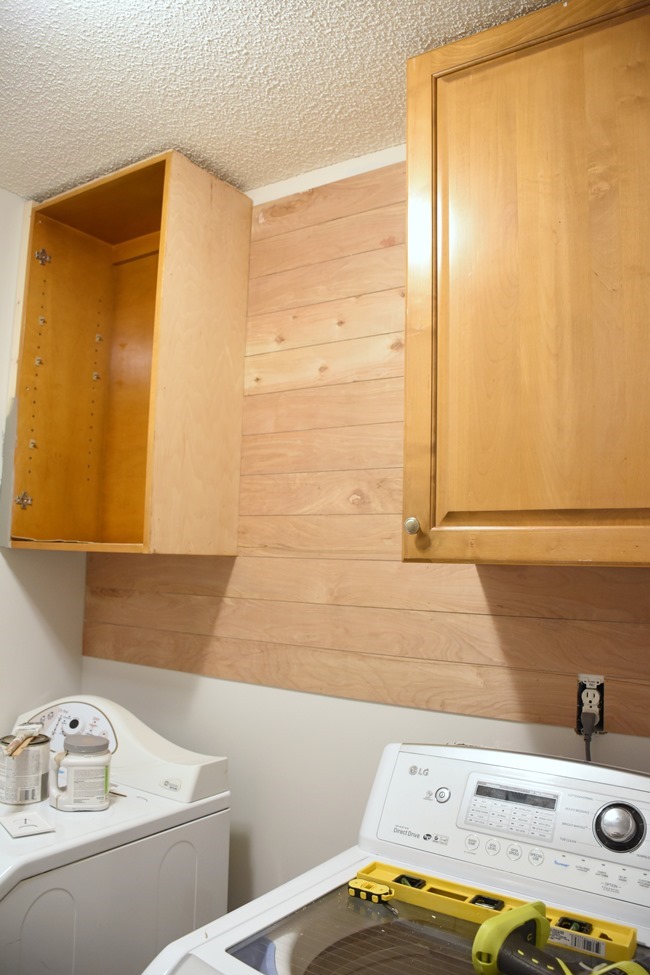
I used Behr Polar Behr for the shiplap and Rustoleum Country Gray Chalked paint for the cabinets. I spray painted the knobs that came on the cabinets with Rustoleum Oil Rubbed Bronze spray paint.
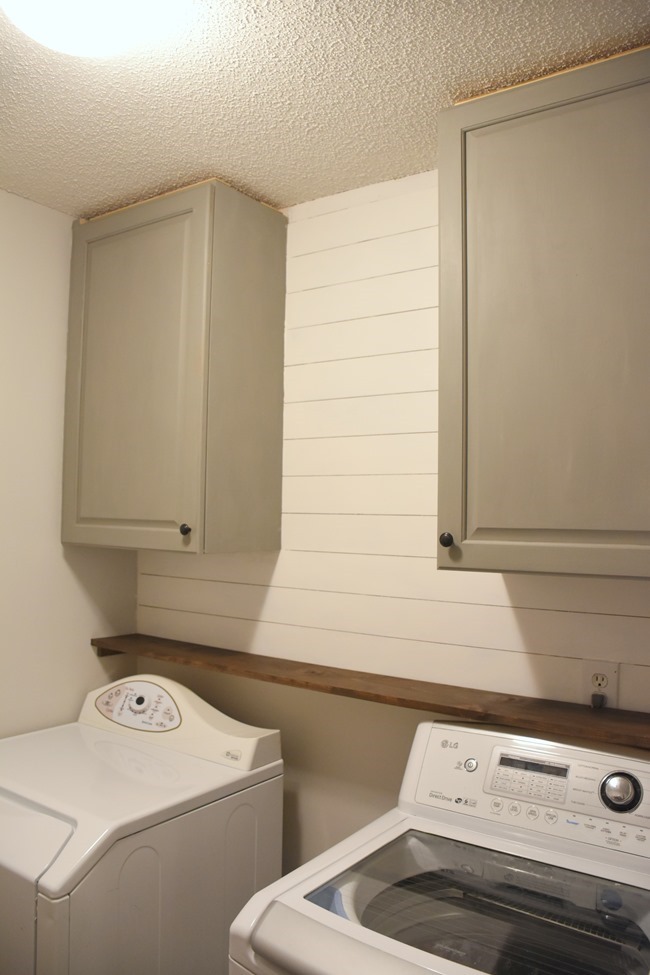
And I also added a shelf right above the washer/dryer. I cut a 8 inch wide piece of wood to fit and stained it with Varathane Dark Walnut stain. Because you need to access the outlets and the hoses I just let it rest right on top of some supports (made of out of 1×2 boards) I nailed into the wall. So it is easy to lift up and remove if needed.

The outlet ended up right in the middle of the shelf so the shelf sits out a bit in the front of the plate and I cut a little notch for the plug for the washer to come up and plug in. I will probably hide this behind something when I decorate the room ![]()

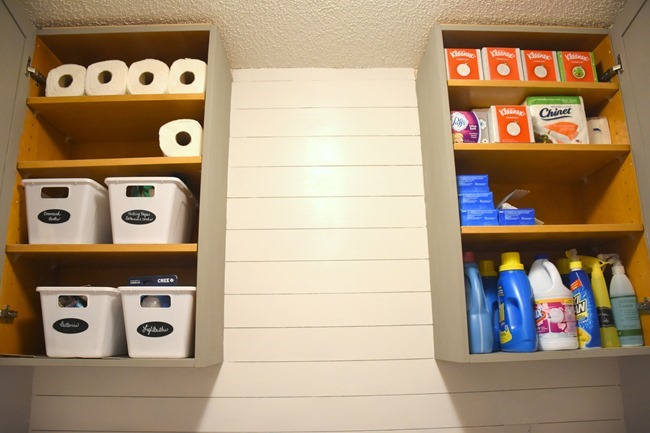
Oh, and want to see what I store in the cabinets? Extra paper towels, napkins, tissues, and toilet paper along with laundry supplies and other household supplies like batteries, light bulbs, packing tape, command hooks, and more! I love closed organized storage! Those little white bins I just picked up at Walmart for $0.98 each – perfect fit and I love the handle! I just added a quick little chalkboard label sticker.
So I still have quite a bit to do before next week’s reveal! Trim out the cabinets along the top, install open shelving in between the cabinets (those will be stained the same as the lower long shelf), and hopefully install a hanging bar at the bottom of the cabinets. And then of course decorate and accessorize the room! I have one thing I plan to DIY as decor and then just pull stuff from around the house because my budget is tight on this!
I’ll do a detailed budget breakdown in the reveal post but so far here’s where I am at:
- paint/stain – already had
- cabinets – $45
- board for shelf – $8
- 1×2 board for shelf supports and for trimming out top of cabinets- $1.02
- =$54 (but I still need more wood, a rug, supplies for hanging rod, and hopefully a lamp if budget allows)
Can’t wait to show you the full reveal next week!
I love how your room is coming together! How fun to have some shiplap to make you smile and those cabinets were such a good score!!
Love your updates – gives the room a really nice custom look. And that little shelf will be so helpful!
It looks amazing! I love the shelf and what a great space to put things you use all the time! Can’t wait to see it next week.
It looks gorgeous! Those cabinets were a steal and they are just perfect for your laundry room!
You did a great job on painting your cupboards and the shiplap is beautiful, you’re going to enjoy doing laundry now!
Your walls look amazing and I love that organization!
Looking great! I got my shiplap up this week too 🙂
Your cabinets are so pretty and I can see why so many are creating some type of shiplap. It looks great!
I love the shiplap and the color of those cabinets. And I need a shelf like that! I’ve been wondering how to pull that off and you make it look so easy. Brilliant!
Looks great so far, you amaze me with every project!
This space is going to be beautiful!!! Can’t wait to see next week’s reveal!
Random question, but do you happen to know what size cabinets these are? ?