
Many years ago (I think it has been 8-9 years!) I scoured craigslist for a butcher block style table like this. I finally found one not very far at all from where we lived with 4 chairs and a pedestal instead of 4 legs and I think I paid $100. I sold a dark brown smaller table and 4 chairs we got as a hand-me-down after we were married for $75 so in reality I got the style table I wanted, and a bigger table for $25. ![]() Over time I found 2 more chairs (one at Goodwill, and one on the side of the road) – one perfectly matches, one has different shaped spindles but same style. And we have eaten many, many meals around this table, served guests at this table, and I have set many tablescapes on this table.
Over time I found 2 more chairs (one at Goodwill, and one on the side of the road) – one perfectly matches, one has different shaped spindles but same style. And we have eaten many, many meals around this table, served guests at this table, and I have set many tablescapes on this table.
This picture of our kitchen in our previous home is on my favorite shots of all time in that house ![]()

It was in very good shape when we got it even though there might have been a little touching up I could have done to the white base. Over the years it seemed to get even more “golden yellow” and as my style and taste changed I really wanted to sand down the wood and stain it a darker color. Fast forward 8 or so years and now it definitely needed the white paint touched up and had seen its share of scratches/bangs and leftover paint from craft projects on top too. It was on my list to makeover at our old house but I dreaded, absolutely dreaded, painting and staining around the chair back spindles so I put it off for a long time! I knew I was capable of doing it, and that it would look so much better, but I knew it would be time-consuming and frustrating (and it was – but still worth it!)
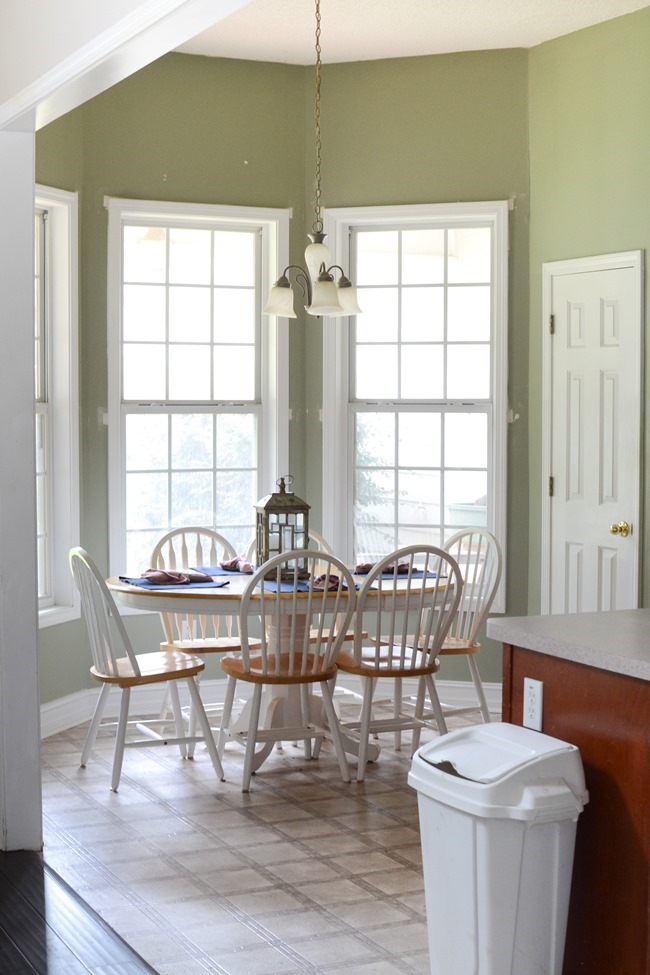
Now here it is at our new house (the other 2 chairs are already being worked on when I took this before picture) and I could no longer put off painting and staining this table. We were about to extend the dark engineered wood floors into this space and that golden table top would have looked even worse with that flooring.
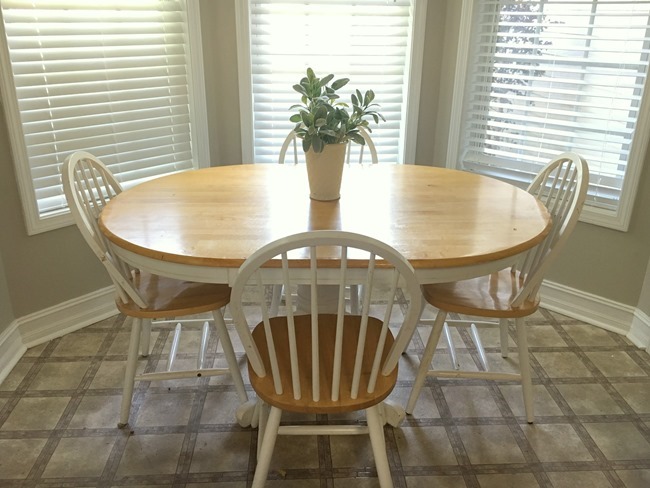
Here’s a closeup before…

The table was the easy part and actually a lot of fun. I used my Ryobi orbital sander and sanded off all the old finish off the top and side of the table. Took maybe 20 minutes and I started with a 60 or 80 coarse grit sandpaper and then did a final sanding with a fine 300 grit sandpaper.

And look at that beautiful wood that was under all that yellowed clear coat!

Then it was time to stain. I should have probably used a stain pre-conditioner which may have helped it have a smoother/non-blotchy finisher but I didn’t have any on hand. I did 2 light coats of Varathane stain in Briarsmoke (a grayish brown color). And then let it dry thoroughly. By the way, I apply my stain with a cloth or rag – usually cut up parts of my husband’s old t-shirts and I rub on and off the stain at the same time.

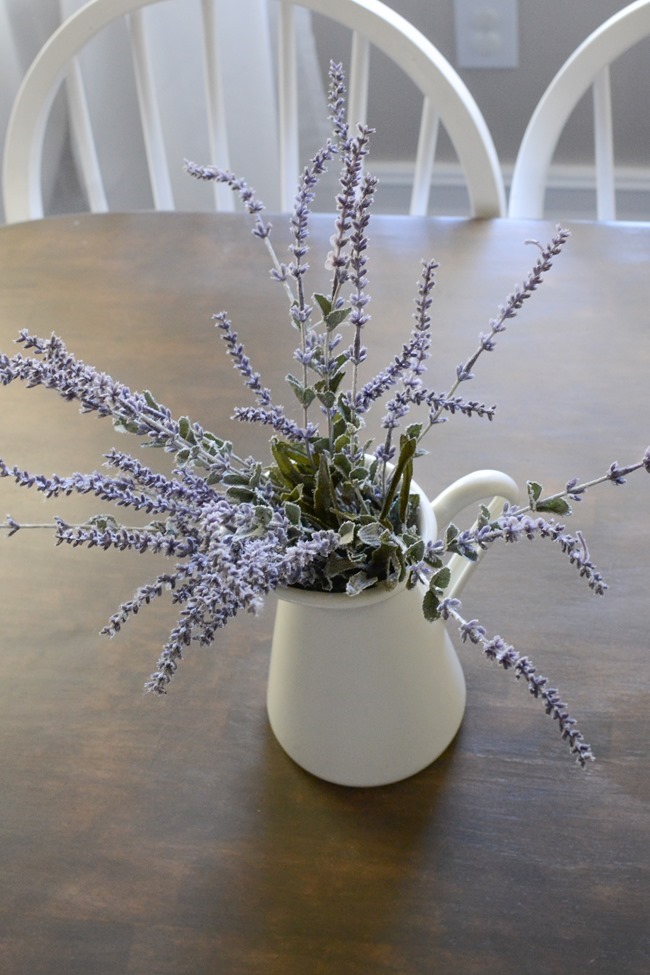
I finished it by applying several coats of Varathane Triple Thick Polyurethane in Satin finish using a regular paintbrush. Because it is a tabletop that gets a lot of wear and tear and wiped down multiple times a day, I wanted a thick layer of protection on it and it has held up great! I also found that the poly helped to even out the stain color a bit too. The picture below is after stain before I applied any poly.

I didn’t really need to sand the base unless there was a deep scratch and then I gave it 2 coats of Behr Semi-gloss paint with a paintbrush – just white out of the can. I wanted something super wipeable (because kids and food) and it has worked great.
Then it was on to the chairs. Once again I sanded with coarse sandpaper to get all the finish off and then finished with fine grit sandpaper. In between the spindles I had to do by hand and definitely didn’t get it sanded as well as the rest of the seat.
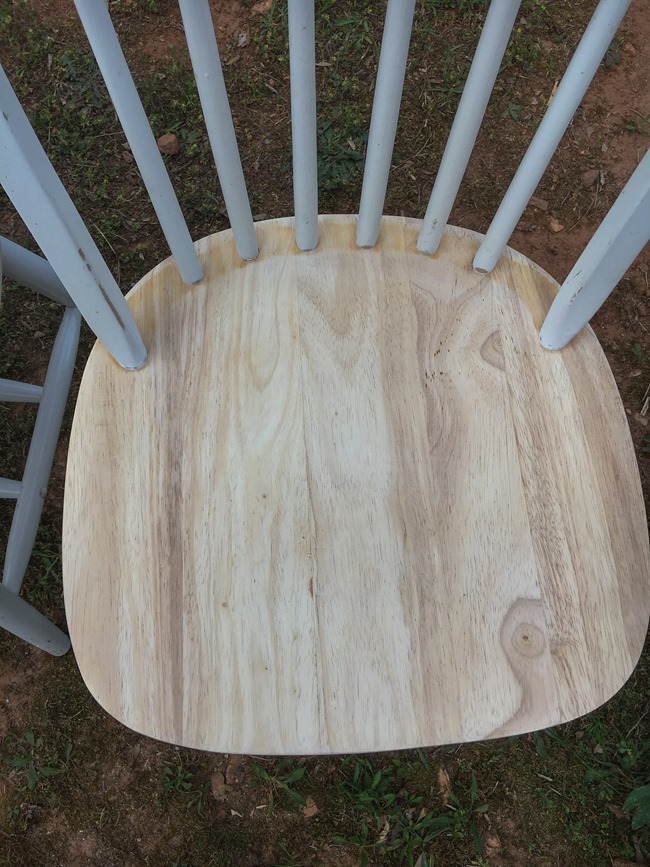
I also sanded any of the white paint that was chipping or deeply scratched to give a smooth surface to apply fresh paint.

Now for the fun part. ![]() I stained the seat of the chair first and no, I didn’t tape off anything. I probably could have but #1 I’m not patient and I hate prep work, and #2 sometimes I find when you are working with uneven or not flat surfaces you have a hard time getting the paint line to be straight. And then there is the time spent taping… so do whatever works for you.
I stained the seat of the chair first and no, I didn’t tape off anything. I probably could have but #1 I’m not patient and I hate prep work, and #2 sometimes I find when you are working with uneven or not flat surfaces you have a hard time getting the paint line to be straight. And then there is the time spent taping… so do whatever works for you.
I didn’t really take many in-process shots of this process because it was frustrating and messy. I stained the seat and the edge with the same Varathane Briarsmoke stain. And then painted the legs and spindles. I had to use a small craft paint brush to paint the very bottom of each spindle where it met the stained seat to get an even line and I had to do 2 coats to cover the stain marks. Once it was painted and stained, I also applied 2 coats of poly on the seat.

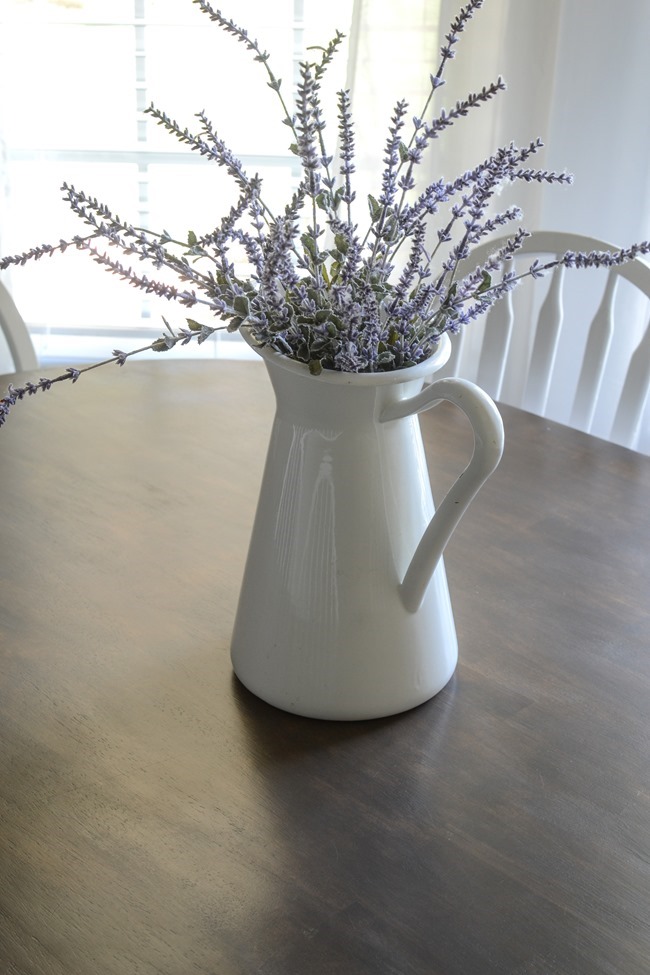
Here’s a finished closeup look at both

And here’s just a bunch of after pictures ![]() I am so happy with how it turned out and even more happy to have it done!
I am so happy with how it turned out and even more happy to have it done!




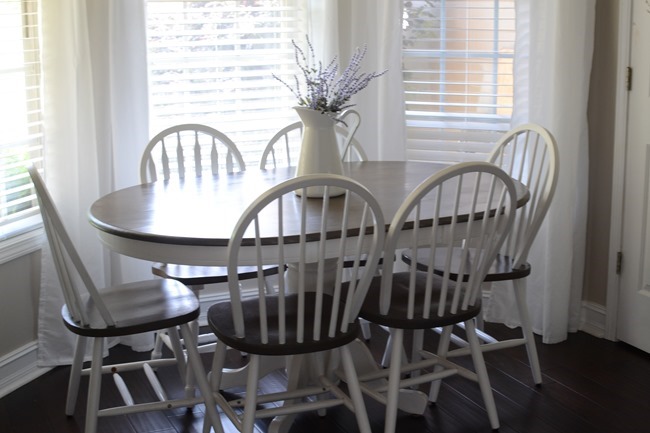
And just to recap here’s some more before/after pictures.

Before

After

I hope that helps any of you if you have a table and chair project you plan to tackle. I wish I had done it a long time ago even though the chairs were a pain to do. If you have chairs where you don’t have to stain around spindles they would be so much easier and quicker to do. I’d be glad to answer any other questions you have – just email me or leave a comment.
I’d love to know if you have a table you plan to tackle or would you tackle a project like this?
Your refinishing job really made a big difference. This dark wood tone is so much prettier than the old golden color. I can see why you put off doing this project, sanding and painting all those spindles had to be a real Pain!
The table and chairs look great! I have never liked the golden yellow stained look. Your dining area now looks lovely!
WOW!!! That’s an amazing transformation. Thanks for the great description!
Another beautiful job!!!! You are amazing and your workmanship is outstanding. Finally someone admits they don’t like prep work! Thanks again for a beautiful blog.
Beautiful! I have a very similar set that I may just have to tackle now that you’ve inspired me (and given me tips)!
Incredible! Thank you for sharing as we have the same table and chairs (at least 19 years old).
Would you mind messaging me how you combine your two pictures of your Before and After? Is it an app? The one I tried left the pictures grainy….
Thank you….
I have been putting off (and off and off) refinishing our table & chairs also.
You have given me new inspiration!
L
You usually can’t paint over stain. Did you use an oil base white paint for table and chairs?
Love the table and chairs! Did you put the stain on with a rag or brush? How long did you let it sit before wiping off? Did you put more than one coat of stain on chairs and table top?