I enjoy finding ways I can organize my home and sometimes the best way to organize things is to build something that will help! Today I am going to show you an easy project that can help organize so many things in your house – jackets, book bags, towels, mops/brooms – anywhere you need some hooks to help organize things a DIY coat rack or hook rack is the perfect solution!
Here’s my easy DIY Hook Rack in my little girl’s room helping to organize and corral all her dress up aprons, play jewelry, purses, and backpacks. She also sometimes hangs dress-up clothes up here too.

I actually had a store-bought hook rack up here before but it had fallen down several times because it could only be hung on a screw into the wall and the hooks were so big that it wouldn’t allow the door to open all the way. So making something I could secure better to the wall and that was more narrow was my goal.

To make a coat hook rack you will need:
- board the length you want your hook rack. I usually use a 1×5 pine board and I made this one 28 inches long.
- hooks – I grabbed these from the Target dollar spot a few months ago for $1 each but they aren’t available anymore. These hooks from Amazon are more heavy-duty and come with the screws needed for almost the same price. I used these hooks on my laundry room coat rack and highly recommend them.
- screws for hooks if needed and screws to secure to the wall
- paint or stain to finish your board however you desire

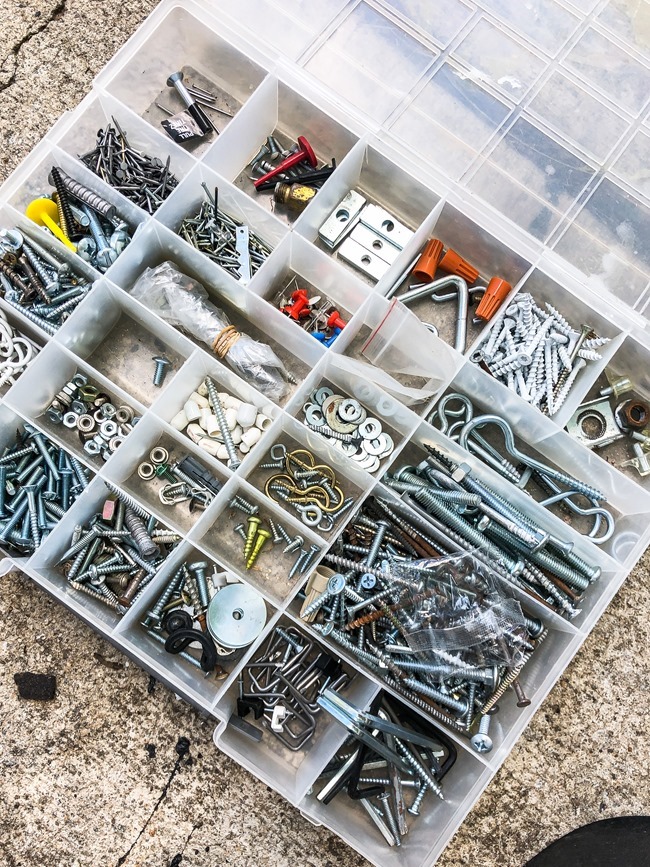
My hooks didn’t come with screws so I dug through this bin we have and somehow came up with 20 matching screws. We got this kit as a wedding gift many years ago along with some other household things and seriously one of the best gifts! We add extra stuff to it all the time as we hang something and it comes with extra screws or use 4 screws from a pack of 10 we bought, and then use things from it constantly.

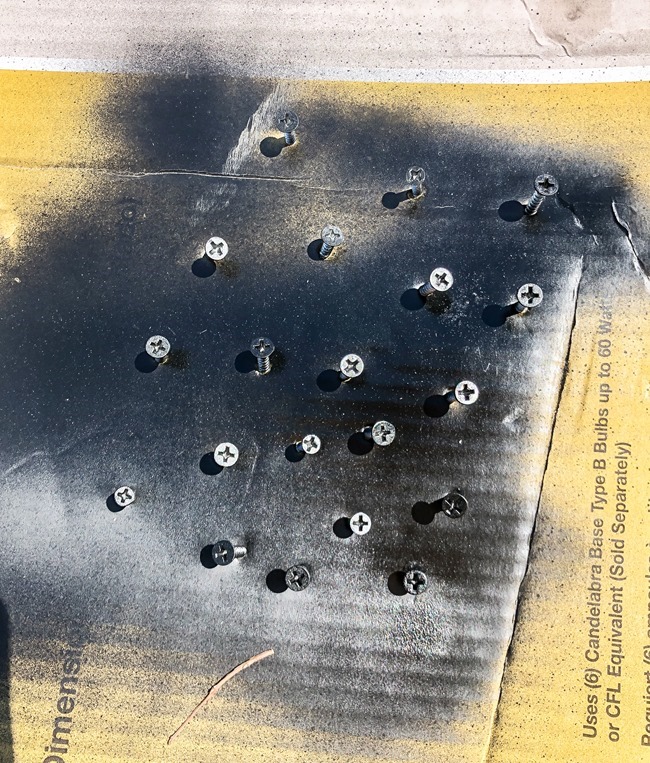
They do sell black-head screws but since I am not running to the store right now for every little thing, I just grabbed a can of spray paint and gave the heads of the screws a quick coat of black paint to make them match the hooks.

My little girl doesn’t have a lot of wood tones in her room so I wanted a whitewashed wood look for the wood. I did one coat of Varathane Classic in Dark Walnut and then distressed/sanded it once it was dry.

Then I sort of dry brushed/rubbed in some this Varathane Classic White Wash. I love this stuff for creating that weathered/whitewashed look on top of old or new wood.

Then it was time to attach the hooks and hang the hook rack! I have a trick for hanging it on the wall that will allow you to hide the screws that secure the wood to the wall under the hooks! First, find your studs and see if you can line up a hook on the wood where a stud is. I was able to do this for 1 stud along the length of my wood board. Then drill a long screw into the board and into the stud in the wall. Then you can secure a hook to the board right on top of that screw hiding it! My stud was in the middle of the board and then I also did 2 screws at the end just straight into the wall.

I spaced my hooks about 5 inches apart but you can customize with as many hooks as you need and distance apart that looks visually appealing. I love the clean look of not seeing any kind of screw or hardware that is hanging it the wall. And yet this is now hung on the wall very securely into a stud and not budging at all.

So many places and ways you can use something like this!

Here it is all put to use with her fun play stuff again. ![]() Also, the hairbow holder is a DIY too – another great way to build something to organize hairbows!
Also, the hairbow holder is a DIY too – another great way to build something to organize hairbows!

When my little girl was a baby I used the hook rack to hang headbands – oh, I miss those days! You can see the tutorial the hairbow holder and some sources on how I found super cute hairbows and headbands for cheap here. And you can see her entire nursery here.

I have used the same exact method to make hanging racks for towels in both of our bathrooms too – see our guest bathroom here.

And master bathroom hook rack and more details here.

Also, I am participating this month in the Build it for the Home challenge and you can find lots more build to organize projects below – I hope you’ll check them all out. I always find lots of good ideas to add to my to-do list 🙂

The hook rack is really pretty!!! I love how you store the bows, clips, and headbands too, very original!!