One more project crossed off the list in the bathroom! Just 1-2 more to go and I can share the final reveal and before/after shots. And can I just tell you that both my husband and I are enjoying this room so much… It has changed so much in the last 6 weeks and honestly has that whole updated, luxurious spa feeling and has cost very little.
So here’s the garden tub area. I have a big metal medallion on the one wall but I really wanted to install shelves on the opposite wall. We definitely could use some additional storage especially for towels and other bathroom items so they would be functional storage and pretty.
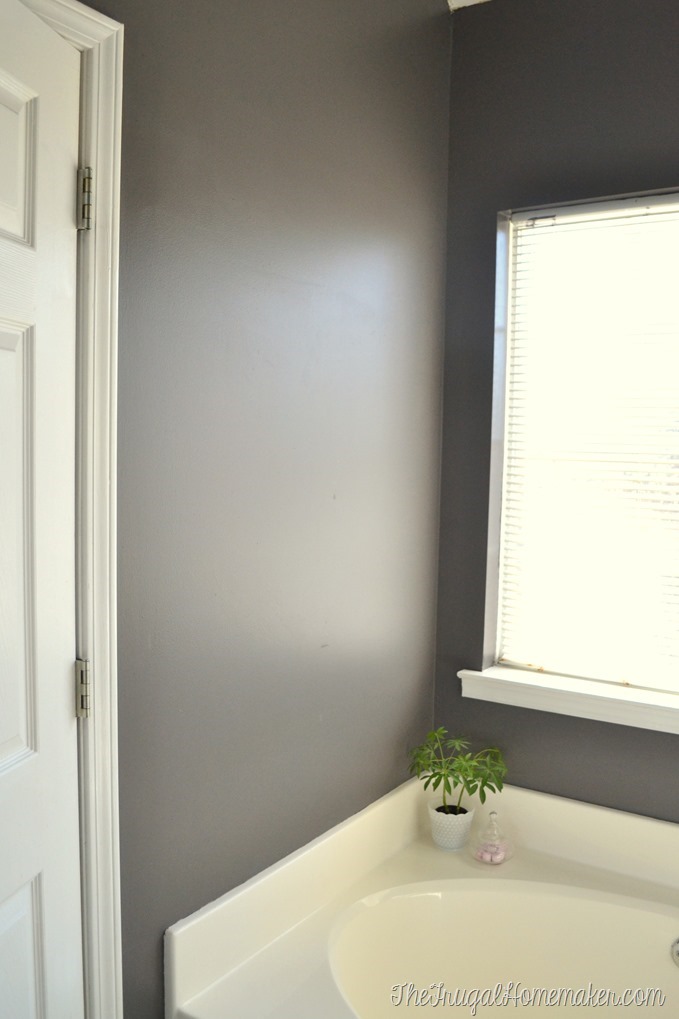
I debated on what type of shelves to add – I knew I wanted to do white since the walls are dark. Although if my bathroom was a lighter color, I would have totally done stained wood shelves. But did I want to do floating shelves, use corbels, build them, buy them? I browsed Pinterest for ideas and inspiration and in the end decided I really didn’t want corbels and although I could have built floating type shelves I would have had to be careful what kind of wood I used since it is in a bathroom exposed to moisture. So I decided to go with finished IKEA shelves in the EKBY line. They have a laminate finish and the ends are covered by those brackets (which I really liked!) so I felt they would work best and be reasonably priced for this project.
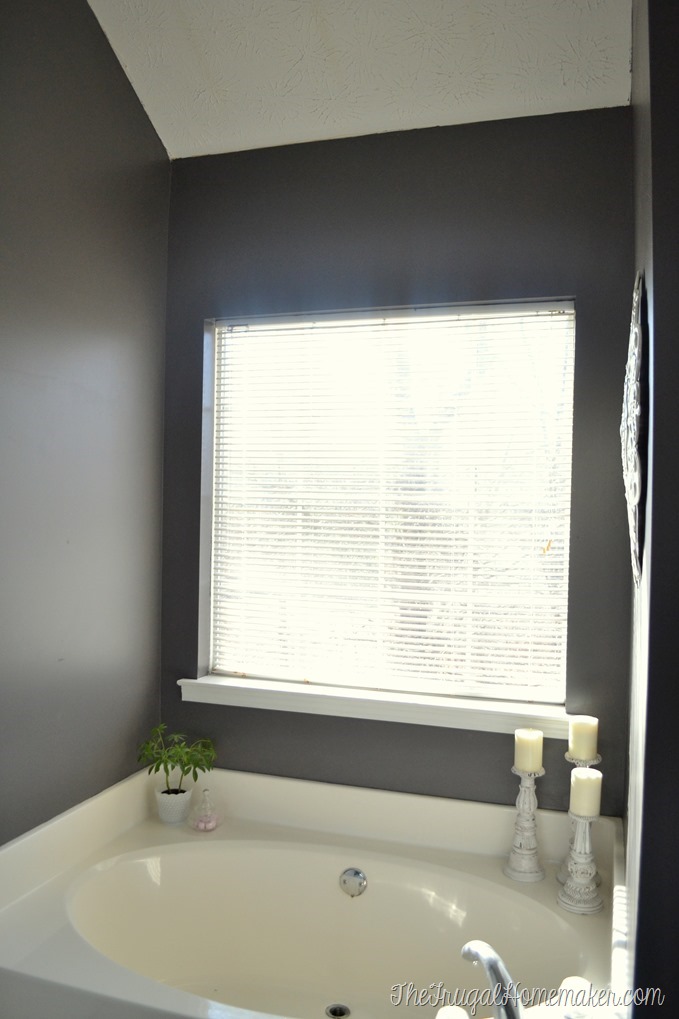
So here’s the materials you will need:
- IKEA EKBY JARPEN shelves (I used 7.5 inch depth white shelves which are 31 inches long)
- IKEA EKBY BJARNUM brackets – 2 for each shelf (7.5 inch)
- long screws and anchors – not included (I actually picked up this FIXA kit at IKEA because I needed them for this project and we always need screws/anchors for other projects too)
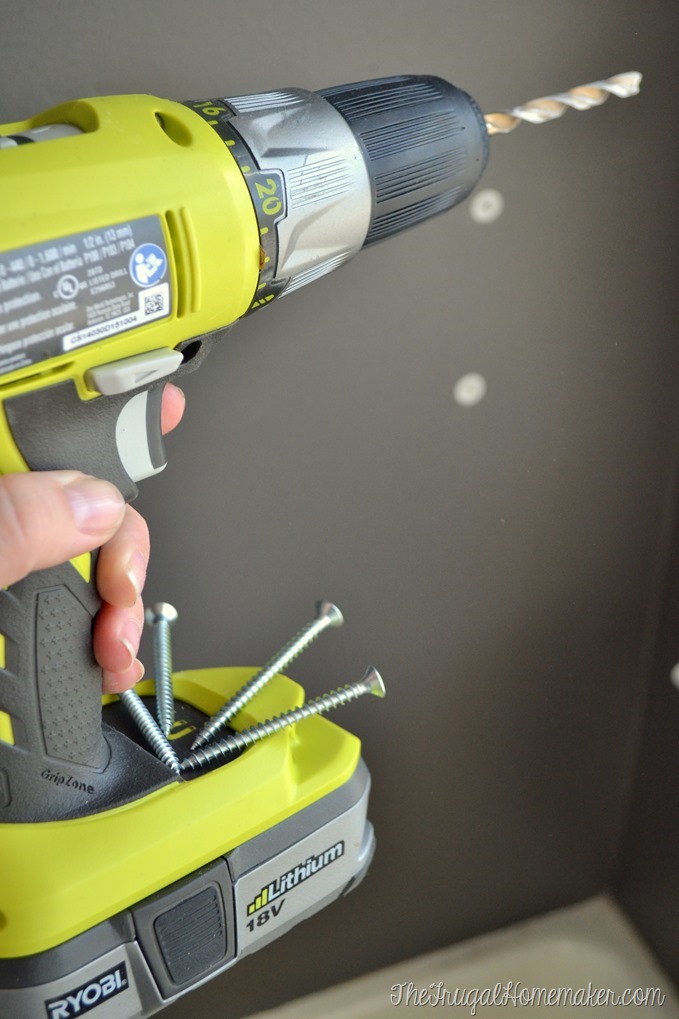
- Ryobi 18 volt 2 speed Drill-Driver
- level
- tape measure
- pencil
I chose the 7.5 inch deep shelves since I didn’t want them to stick out too far from the wall, but IKEA also sells deeper shelves and brackets and different finishes as well.

I just love my new RYOBI drill! I have been trying to build up my own stash of tools and hope to start doing more intense DIY projects and even doing some simple building of furniture later this year. I love how especially for a women they are light, easy to use, and work exceptionally well.

My absolute favorite part of this drill is the magnetic pad on the bottom. I was doing this project completely by myself so trying to hold shelves, screws, a level, and a drill – yeah… I just don’t have enough hands for all of that! ![]() But this little magnetic shelf holds screws and even extra drill bits since I was switching from a drill bit to screwdriver bit frequently during this project. And if you have magnetic drill bits or screwdriver bits even better because it will hold the screw on the screwdriver bit for you too.
But this little magnetic shelf holds screws and even extra drill bits since I was switching from a drill bit to screwdriver bit frequently during this project. And if you have magnetic drill bits or screwdriver bits even better because it will hold the screw on the screwdriver bit for you too.
So I measured out my wall, decided on centering them over the tub vs. centering them on the wall, and decided my spacing for the 3 shelves. I went with a 14 inch spacing for my shelves.
I measured and marked the walls, held up the brackets, marked the screw holes and then drilled my holes and installed the anchors. Since I was needing to center them and the brackets have to be on the end I couldn’t just find studs to screw them into.
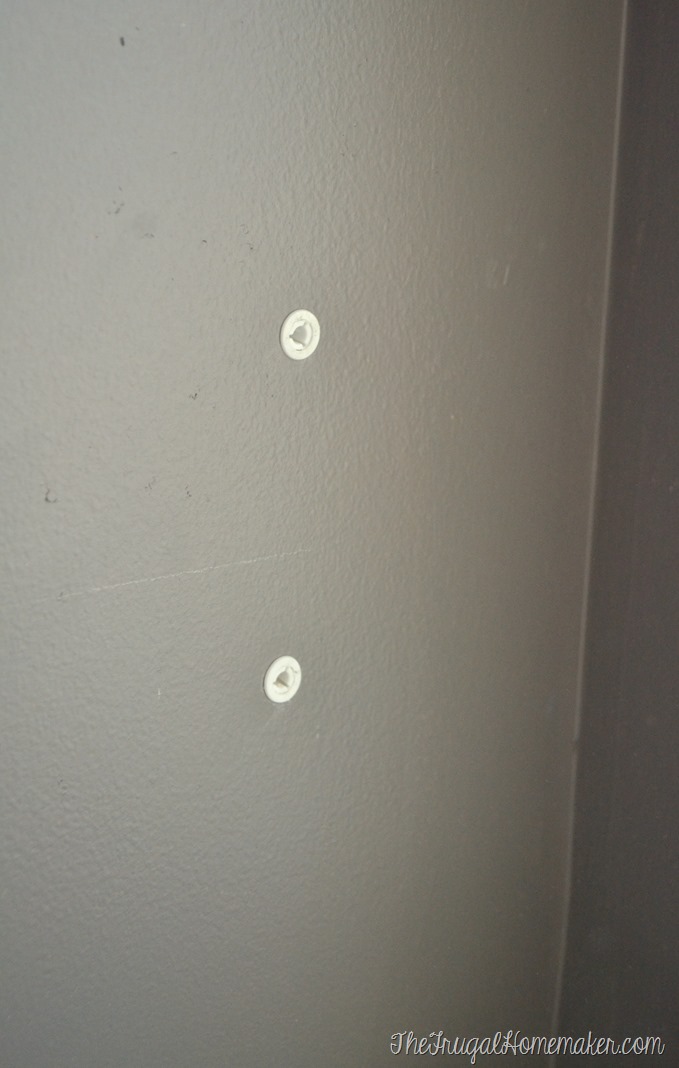
I installed the bracket on the right side, put the shelf in it, held up the bracket on the left side, checked to make sure my shelf was level, and then marked my holes for the left bracket. I set the shelf and bracket down while I drilled my holes and installed my anchors for the left side and then put the shelf back up, into both brackets and secured the left bracket into my anchors. It sounds more complicated than it was – this was seriously way easier than I thought it would be even doing it completely by myself. I had these completely installed in 30 minutes.

I double checked the spacing of my shelves with a stack of towels after installing the bottom shelf. It was perfect so I repeated the process 2 more times.

Here they are all installed! Just what I wanted and imagined!

The brackets come with these little screws and there is holes in the bottom of the brackets that you screw these screws into the shelves to completely make them sturdy and secure. My shelves have no give – no movement – and bonus are perfectly level! ![]()

Then it was time to decorate! Which meant pulling in décor and possible items from my stash and all over the house causing my bathroom to look like this. I probably arranged and rearranged the shelves 10-12 times. ![]() I have never had open shelving like this and it is so fun! I am sure it will be something that I can change things out if I want or if we see that something else would work better.
I have never had open shelving like this and it is so fun! I am sure it will be something that I can change things out if I want or if we see that something else would work better.

So here’s the before…

And here’s the after!

I absolutely love them! I love the extra storage, I love that I can display some of my “pretty” things since I just don’t have much “display space” in our home, and I love how easy it is to access towels and other items without cluttering up the counter.
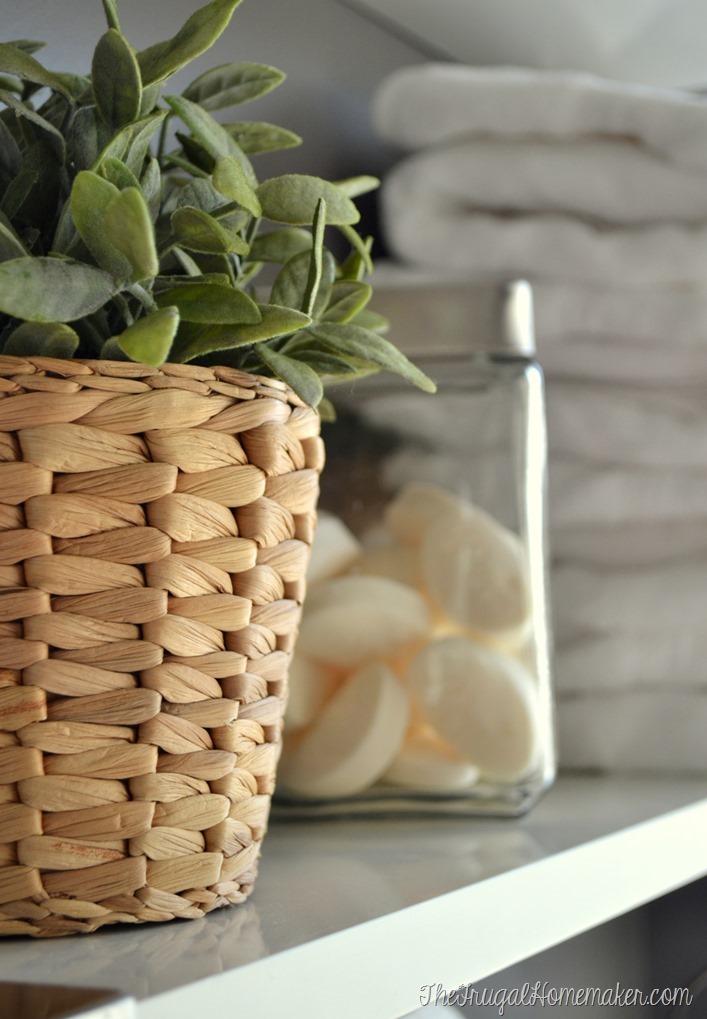
We store towels, soaps, cotton balls, q-tips, and more here allowing for more space in the cabinets and easy access too.
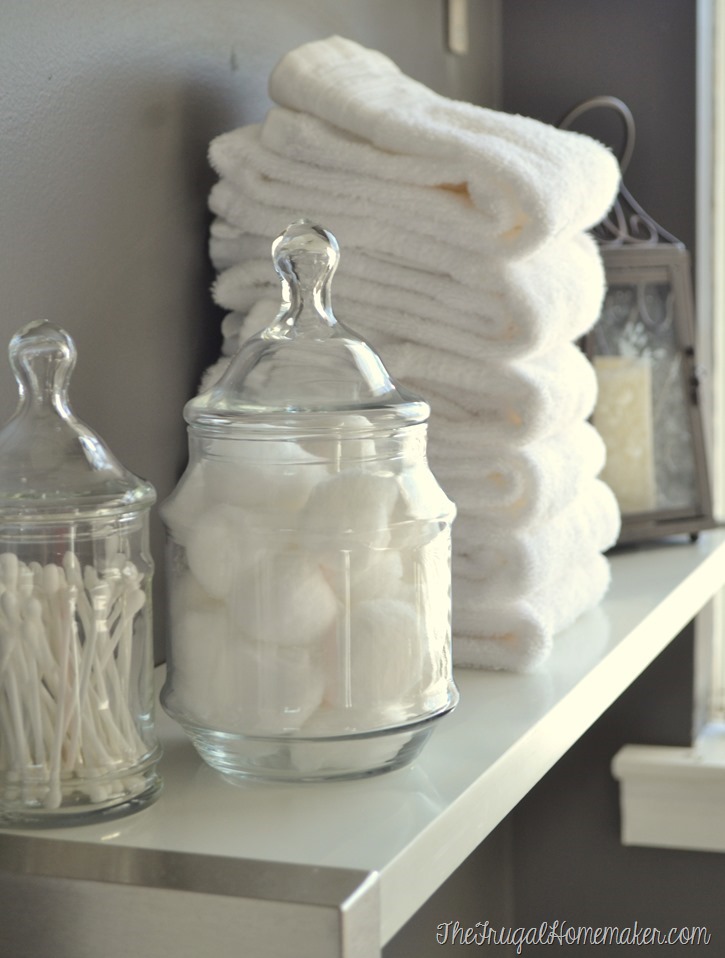
Everything on the top shelf is all yard sale/thrift store finds and the glass jars are all thrift store purchases too. I bought myself white towels on a Black Friday special a few months ago and am so enjoying having white towels for the first time! We hadn’t had new towels in 11.5 years since our wedding so it was definitely time.

The shelves and brackets cost $45 and I am sure I would have spent almost that much if not more if I would have built mine own. I am so excited that this bathroom is almost DONE!
Do you have open shelving in your home? Or shelves in your bathroom?
(Disclosure: There are affliate links in this post which means I might earn a bit if you purchase something through them, but you don’t pay a cent more. Also thanks to Ryobi for supplying me the drill to start building my tool collection!)
Great job! Looks fantastic. I was waiting to see what you’d do.
Hi Christina, I LOVE your bathroom make over. I am currently doing the same thing. I also painted our master bathroom a greyish color. Love your paint choices !!!! I was just trying to figure out what to hang on my large wall above the tub and this is a super great idea!!!!!! Pinning!!! Christine from Little Brags
Hi Christina,
I love the open shelving you’ve installed over your garden tub – they look amazing! I also love how you’ve decorated them….. Can’t wait to see the rest of the “makeover reveal” when you are finished!
Blessings,
Lanita
It looks so pretty! The shelves, the styling!! Love it.
Congrats on the new white towels 🙂
That looks great! You did such a fantastic job. I do love those shelves and brackets a lot. I also like you decorated the shelves too. Another job well done for you!
Looks great! I can install shelves like that in my rental sadly
Very nice. Great job!
Looks so good! Love you you decorated them as well.
Have a happy week!
Sherri
What color is the paint. Love the shelves and how they were used. Great job!
Very informative post you have shared with us. I am also planning to buy and install shelves for my kid’s room to store his stuff and make his room more functional and organized.
I’m obsessed with your mini renovation here! Excellent job!
Thank you- I too am looking for shelves for our bathroom and didn’t want the wood look since I have gray walls and a white marble vanity top- these are perfect- love that you showed pictures. Prices and IKEA:)
I love these. Exactly what I’m looking for! What is the name of the shelves and brackets? Do you know if they have a brushed brass color.. not sure what to call it. I’m definitely going to head to Ikea! Yours looks great!