A step-by-step tutorial of how to make frame filled with chicken wire for farmhouse decor.
Last week I showed you the makeover of this entryway cabinet and today I want to show you how I made this farmhouse chicken wire frame. I really wanted something different than a window or typical decor, but something I could hang a wreath over to go on this wall over this cabinet.

This is an easy and cheap DIY if you have some basic tools.
(Affiliate links provided for your convenience.)
Here’s what you will need:
- 2 – 1×3 pine boards
- 1 package of corner braces
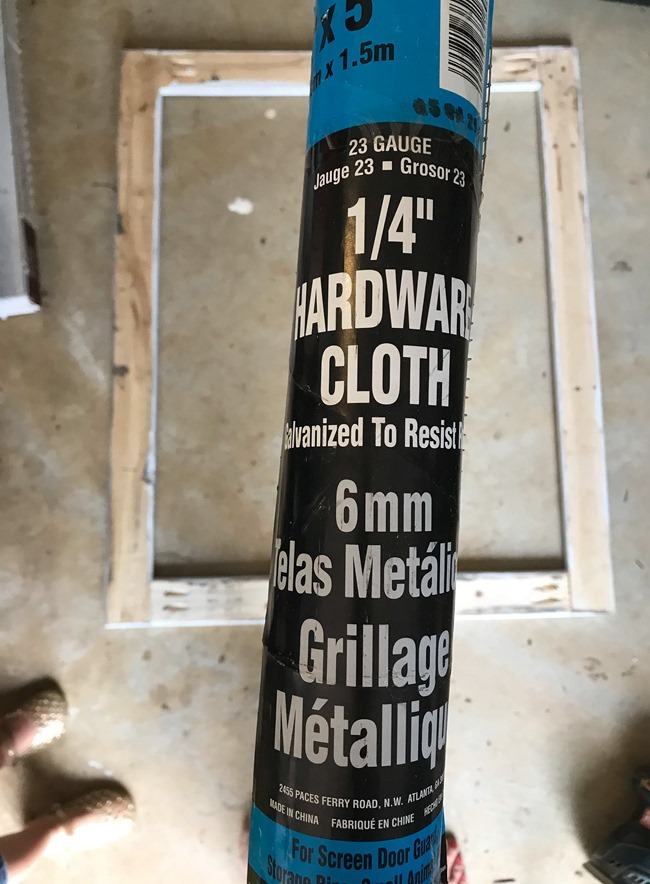
- chicken wire or metal hardware cloth
- Rustoleum Chalk Paint in Linen White
- Varathane Briarsmoke stain
- sandpaper
- Kreg – Jig
- saw
- black or Oil Rubbed Bronze spray paint
- staple gun
- wire cutter
Here’s how I made my farmhouse chicken wire frame:
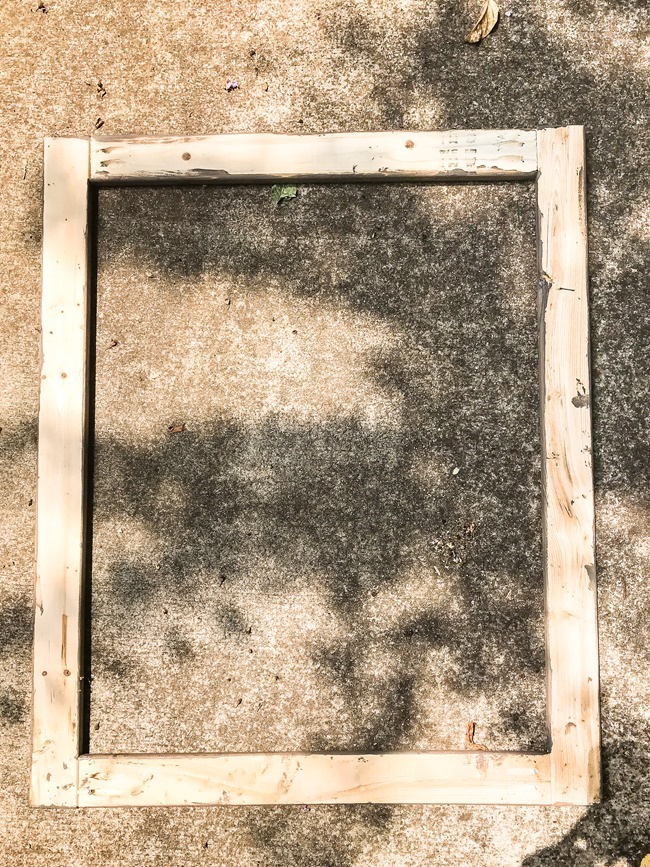
1. Cut your boards. My frame is roughly 28 inches wide x 34 inches tall but you can customize it to be any size you want. You just don’t want to go much wider so that you will be able to fit the chicken wire or hardware cloth across to both sides and have enough room to staple.
2. Then join your corners with a Kreg Jig and screws. I just have the basic version here and I am really beginning to love working with it. It makes joints like this super strong and it’s easy to do. If you don’t have a Kreg Jig, wood glue and using the corner braces I used on the front may be enough to hold it together.

3. Stain the boards with one coat of Briarsmoke stain. Let dry.

4. Paint one coat of Linen White chalk paint and let dry.

5. Distress. I stained the boards first so when I sanded the white paint off in spots to distress you would see dark stained wood below it (instead of the natural wood). But you could also paint the boards whit,e sand/distress, then brush with stain – that creates a similiar but different look. I may do a comparison post with those 2 methods if you wanted to see?!
Here’s how it looked…


I really wanted an aged/chippy look and I was happy with this. But you can totally do it to your liking.
6. Attach chicken wire or hardware cloth.
For this frame I opted to use metal hardware cloth because I wanted it to sort of look like a vintage screen.

But I love the look of chicken wire too – I made a second one for a friend with chicken wire.

Whichever material you want to use just unroll and then staple to the back. I used wire cutters to cut the ends.
7. Add corner brackets. This is purely an extra decorative step but I think it adds a lot to it! I used these brackets I picked up at Home Depot and then spray painted them and the screw heads with some black spray paint. Then just attach to the corners.

I just love how it turned out!

I can hang banners or wreaths or pictures or really anything over it! If you use chicken wire you can use it for a hairbow holder like I use for my little girl.

If you already had paint/stain/tools and only needed to buy the boards, wire, and brackets this would cost $10-12 to make which is not bad for a large piece of decor like this. Hope this has inspired you to create something like this or maybe try this stain/paint chippy finish on something!
What would you do or where would you put a chicken wire frame like this?
Christina, It came out so nice. I love it…Millie from
http://frugaliciouschick.blogspot.com
Christina, it came out so nice. I love it…Millie
http://frugaliciouschick.blogspot.com
Hi Christina, your entryway is lovely. I like the drawer pulls on the cabinet. Do you recommend these for kitchen drawers? Have you used this hardware company before?
Thanks!
This turned out great! I like the little braces on the corners. This looks so pretty with your cotton boll wreath!
I adore this!!! I got a Kreg jig for my husband last year and we need to put it to use. We also have some salvaged wood from old door frames from my grandparents house and also some vintage wooden bed slats, so this would be a great project for those! I do think a wreath looks so much better when it has a “background”. Thanks for sharing!
Wow Christina, that is so cute!!! I’ve never mentioned it, but I love your eye for style and simple charm in décor. 😀 Absolutely love the bright theme of this project, and especially the sign—a line from one of my favorite hymns!