So I’m back to share another before/after of a room with you! It has been a crazy month or so around here but I think things are starting to settle down and I can’t wait to share some new posts with you. I have a few more rooms I want to do updates on and then I plan to share a big 1 year (more like 15 months) into our new fixer-upper home post with you with lots of before and afters before I move into fall and Christmas decorating posts. All of these updates have been done for a while I just had to get around to taking pictures when the room was clean and finally spent a day to photograph several spaces.
So here was the eat-in kitchen nook on move-in day.

And here it is a few months later – we had new flooring put in the rest of the house the day after closing, and got the living room painted but didn’t do anything in here except move our stuff in.

And here is how it looks now!

Gotta love that before and after!

So here’s the changes that happened:
-I finally got back to painting rooms last fall when our baby turned about 3 months old and the kitchen was the first one I planned to tackle. Since the floor plan is so open painting it to be the same color as the living room (Wheat Bread by Behr) made a huge impact!
– I browsed facebook yard sale sites and found a bay window curtain rod for $20 and hung up some basic Ikea Vivan curtains. I love these curtains because they are $10 for a set of 2 and they are 98 inches long. Eventually, I may change these out for something even longer with a different design but I honestly do love lightweight white curtains. ![]()
-And in May we finally extended the wood flooring into the kitchen. We had debated about doing tile but the longer we lived with the open floor plan we realized we just didn’t want to cut it up with different types of flooring. You can get all the details on the engineered wood floor we used in our home in this post.
-And also in early May, I refinished our kitchen table and chairs – I’ll do a whole post on that later this week.
So now for some more pictures! ![]()
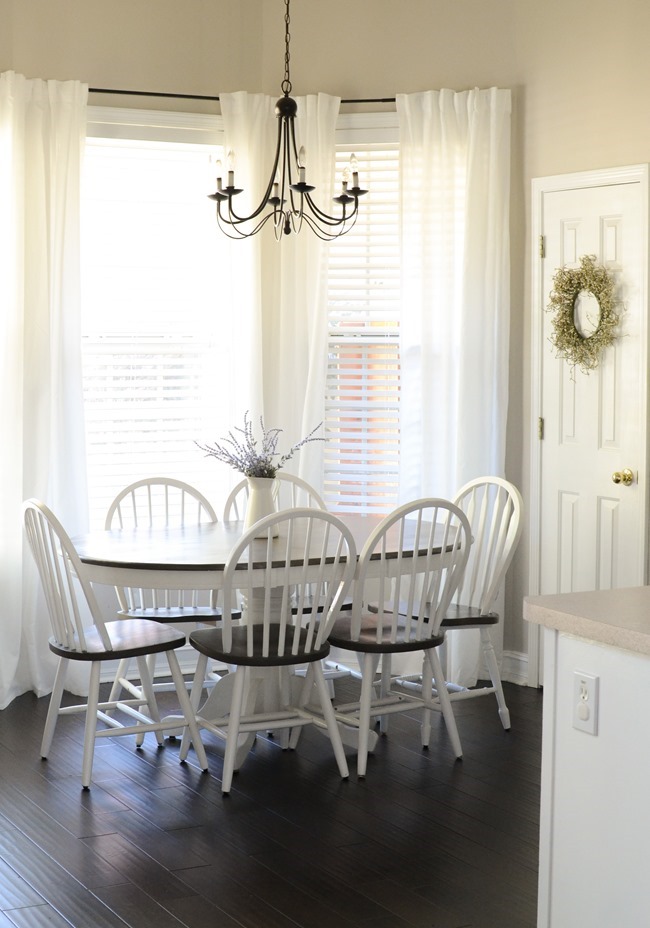

This room is one of my favorites for several reasons – in the morning it is just flooded with light as the sun comes up on this side of the house, we spend a lot of time in here around the table for daily meals, and it looks finished (for now ![]() ).
).
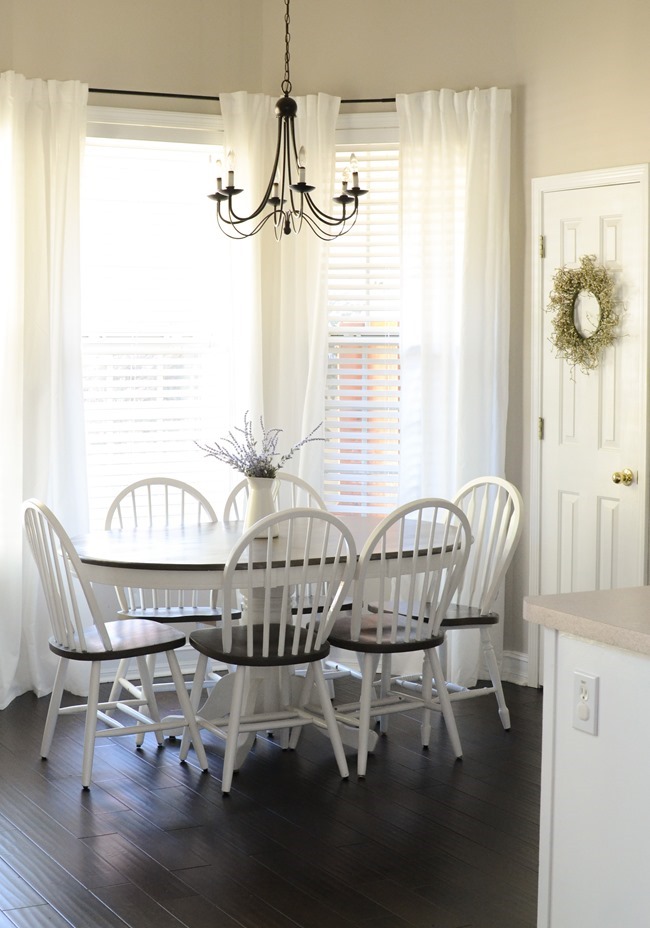
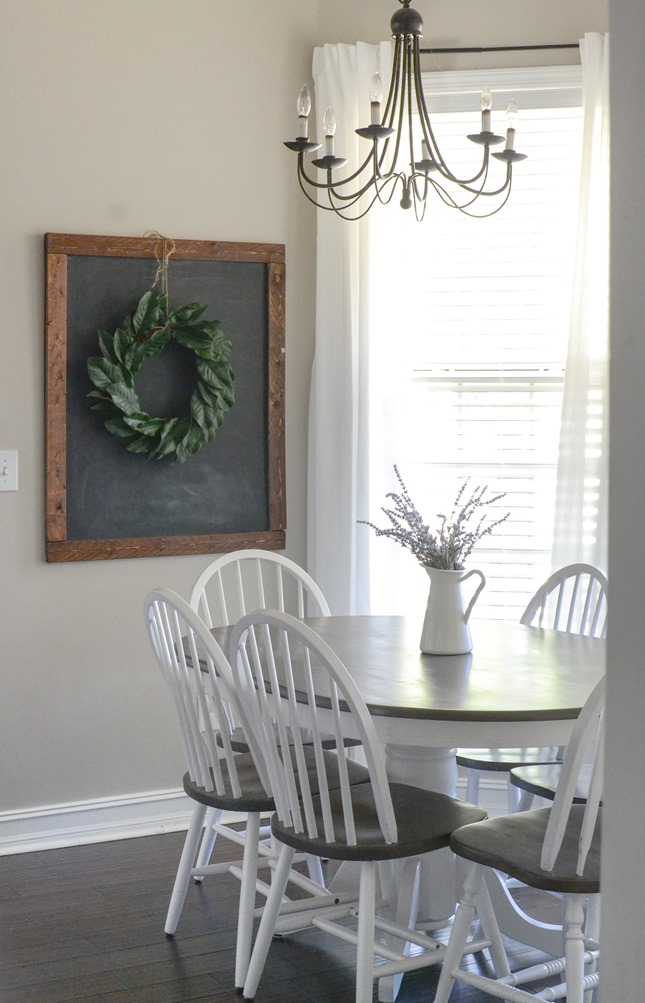
If you remember my eat-in kitchen space at our last house this space looks very similar. I had the same kitchen table set and actually took that same yard sale find light fixture with me so all of that is the same and the layout is very much the same as well with the bay windows and even the pantry being on the right side. This bay window is at a tighter angle so we don’t have quite as much space but I don’t know of any other table size or shape that would work any better since we need to have 6 chairs.
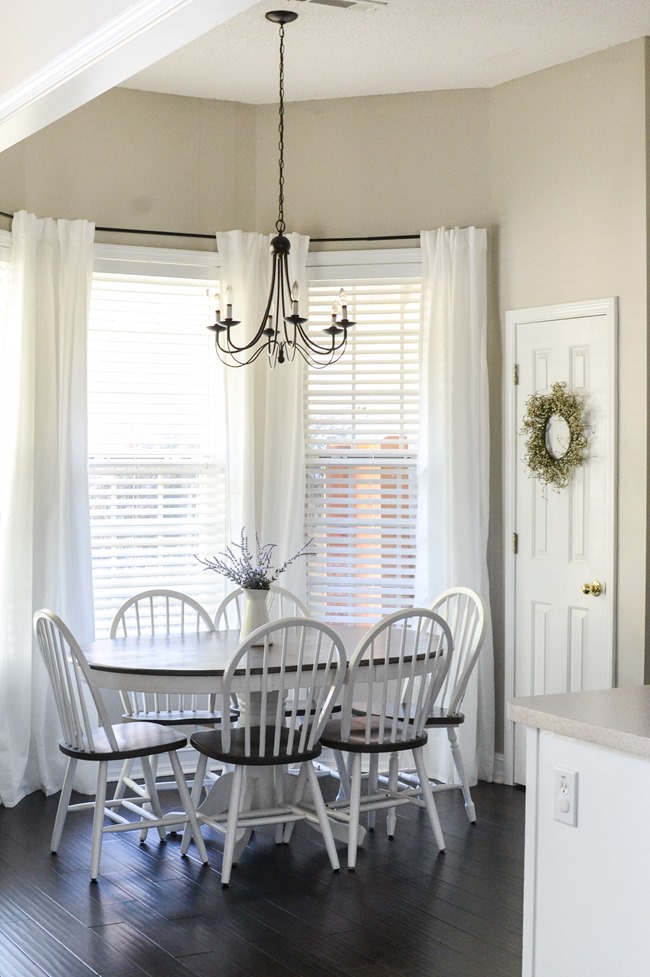
Refinishing the table and chairs made a huge difference – I wish I had tackled that several years ago but doing those chairs intimidated me! More details on that process later this week.

And I made the large chalkboard – if you want a tutorial on that I would be glad to blog one later.
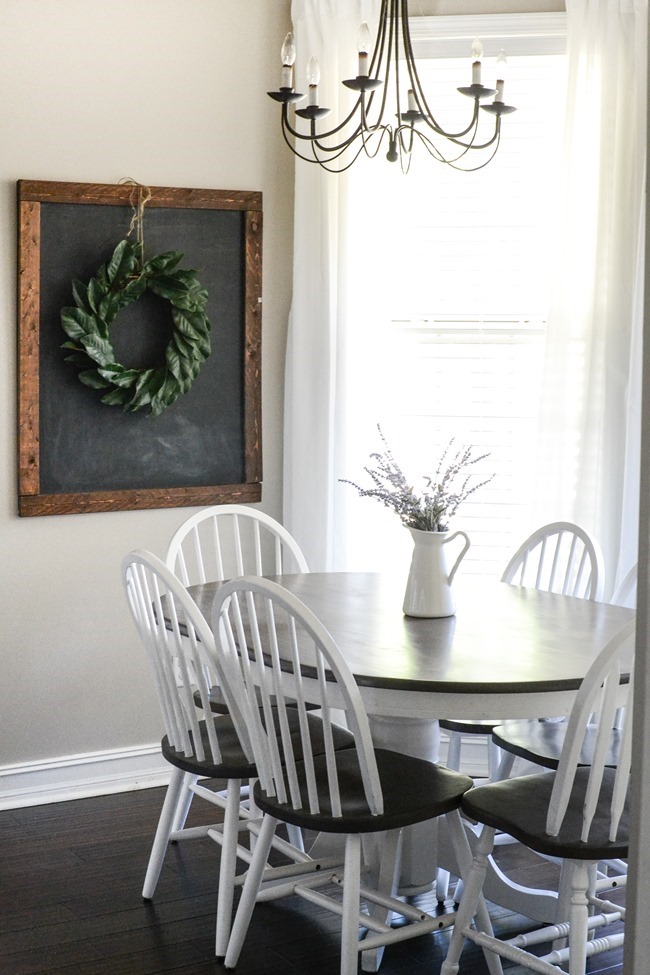
So here’s our simple eat in kitchen makeover! I have one more big thing I would like to build this winter to add in a little nook to the right of the pantry but other than that this room is pretty much done!
Very pretty. Can you tell me about the blinds on the windows. Thanks
I love how the curtains look so airy and crisp and don’t add “clutter” to the kitchen. Nice job! Inspirational to say the least.
Would love a tutorial on that chalkboard! Beautiful space!
The room looks so much better ! Love the color
what a difference the paint and recoloring the table/chairs made!! love it.
I love how it turned out, Christina!! It looks amazing….. It’s difficult to decide which is my favorite, the paint color, the new light fixture, or the new paint colors on the table and chairs!!? Can’t wait to see more of your makeovers, as well as your fall decor!
Such a cute area. Love the curtains especially. They give the space a little elegance.
That looks so classic and just gorgeous. You are doing such a fantastic job!
I would love to know how you made the chalk board as I’ve wanted to make one too. Thanks
Very pretty! I am on pins and needles for your table/chair tutorial. ? Although I can imagine how you made the chalkboard, I would love a post about that too. ?
Would love to see a post on the chalk board also. Can’t wait to see post on your table and chairs, I have refinished that exact same table and chairs and it appears that they are the same, can’t wait to see the tutorial. Your dining room looks beautiful.
Looks so lovely and calm!
Really lovely!
A bright, fresh, homey eat in kitchen area! The paint, the flooring, the drapes, the chalkboard, the flowers in the white holder, the wreath, the refinished table, and the flooring- WOW!!!!!!
This is amazing! Your kitchen has maintained a form of aesthetic people tend to wish for! Very glad to have found your blog, keep posting more, all the love from Nepal~