When I last showed you the little toilet room in my master bathroom it looked like this. I had already given it a fresh coat of paint and you can see the before/after of that in this post.

Even though the fresh paint and cleaning up the nasty trim was a huge improvement, I wasn’t done with it yet. If you have one of these small little toilet rooms in your house you understand that they are just so lacking in any kind of character, usually no window, no decor – they are so plain and just makes it look a tiny closet with a toilet thrown in or even worse like a public restroom stall. But there is always some easy things you can do to give these little rooms some character. In our last house our half- bath downstairs was very plain jane but after adding beadboard, a cabinet above the toilet, and some decor it was so much more inviting to guests. For this room I really wanted to try out something new and practice a technique in a small/less visible space before I tackle it someplace else much more visible (more on that projet later!!). So I decided to add an accent wall of faux brick and then give it a german schmear look!
Home Depot sells a 4 foot by 8 foot faux brick wall panel. You can find it back where the paneling and beadboard is. It has the same texture as brick, indented mortar lines and everything, but it is made of a wood composite material so you work with it like would a sheet of plywood.

I picked up one sheet and cut it down to fit the back of this wall. Of course no walls in a house are completely square so I had to cut to fit the smallest part and then would have to fill in the gaps later.

I was hoping to be able to fit the whole piece behind the toilet but we couldn’t get it wedged there so I had to cut it. But you’ll see later how easy this seam was to hide so if you were doing this across a whole wall and had to use multiple panels it would be easy to disguise the seams.
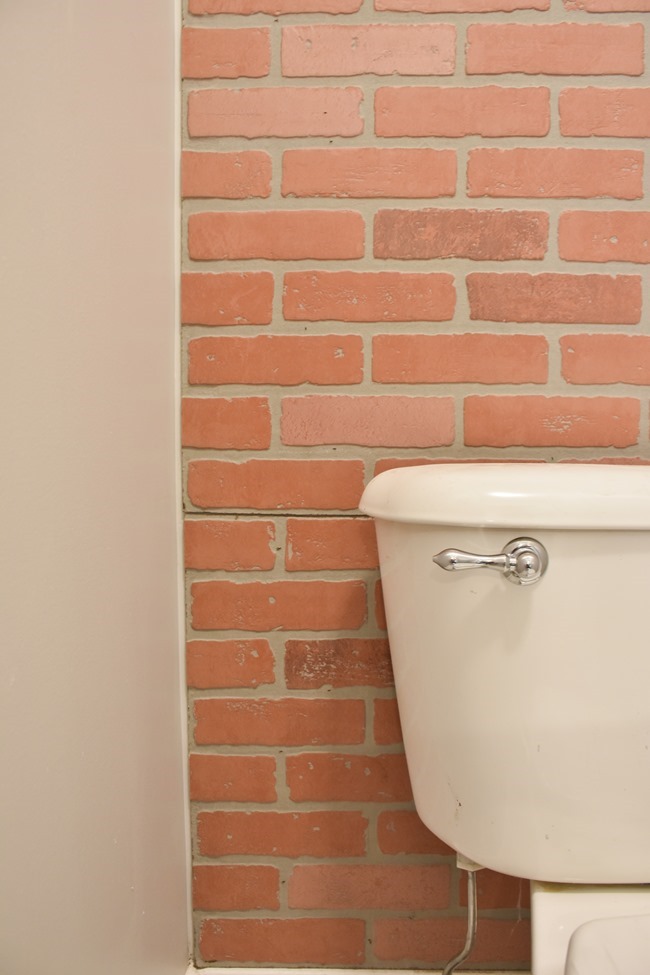
To adhere it to the wall, I found the studs and used my nail gun to shoot nails into the studs and also along the edges. I made sure to put the nails into the mortar/grout lines since I knew I would be filling the grout lines completely with spackle. You could also use liquid nails or some type of adhesive but I try to not use that just in case one day myself or another owner of our home wants to remove it.
I read several different tutorials/methods and decided to use joint compound for the faux German Schmear part of this process. You will use a good bit so I picked up this big container of it for $7.24 at Home Depot
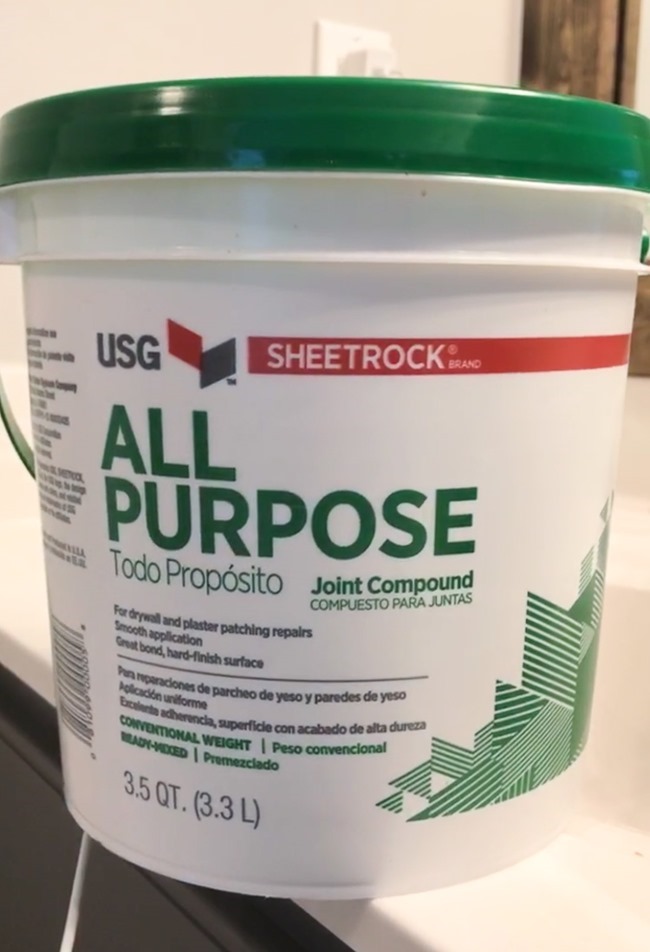
It is thick and white and about the consistency of cake icing. I suggest using a metal spackle knife or something a bit bigger if you were doing a large wall.

Then comes the fun part! You just start smearing it on.. or schmearing it – hence the name! ![]() I used to make and decorate cakes and this felt very much like spreading icing on your wall. I did tape off the edges of the wall just because I had a gap to fill and I concentrated on filling that gap on one side and then working my way over and down.
I used to make and decorate cakes and this felt very much like spreading icing on your wall. I did tape off the edges of the wall just because I had a gap to fill and I concentrated on filling that gap on one side and then working my way over and down.

I did take short snippets of video for you as I was doing this and I will keep them in my Instagram story highlights so they can be viewed forever – so go here to watch the video process of it all. I find that watching a video of the step by step process really helps and makes it seem much less intimidating. This project really was quite easy – not hard at all and very forgiving.
I really wanted lots of the brick to show so I tried to apply the joint compound very thinly – covering/filling in the the mortar lines but scraping off as much as I could off the bricks. But as it dries it gets whiter/less opaque so if you want the lots of brick showing, I definitely suggest less is more.
This is how it looked once I finished the whole wall and it was almost dry.
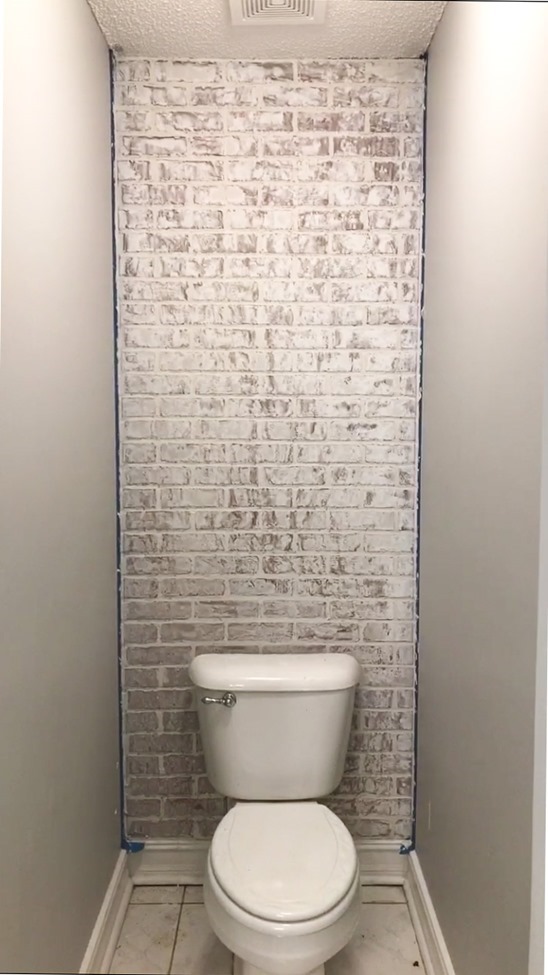
It was a bit too uniform/more of the brick covered than I wanted so I got a wet rag or you could use a grout sponge and started wiping it down… this immediately takes off some of the joint compound and makes the red brick more prominent, but once again as it dries it will look whiter than it did when freshly wiped. I wiped it down 3-4 times throughout the evening until I got to the look I wanted.

Here’s some close up pictures…

It looks so much like real brick – I love it!!

Here’s what it looked like once I was happy with the wiping off process. I have also read people sanded it – but it was wiping off just fine for me and I really didn’t want to create a bunch of dust if not necessary.
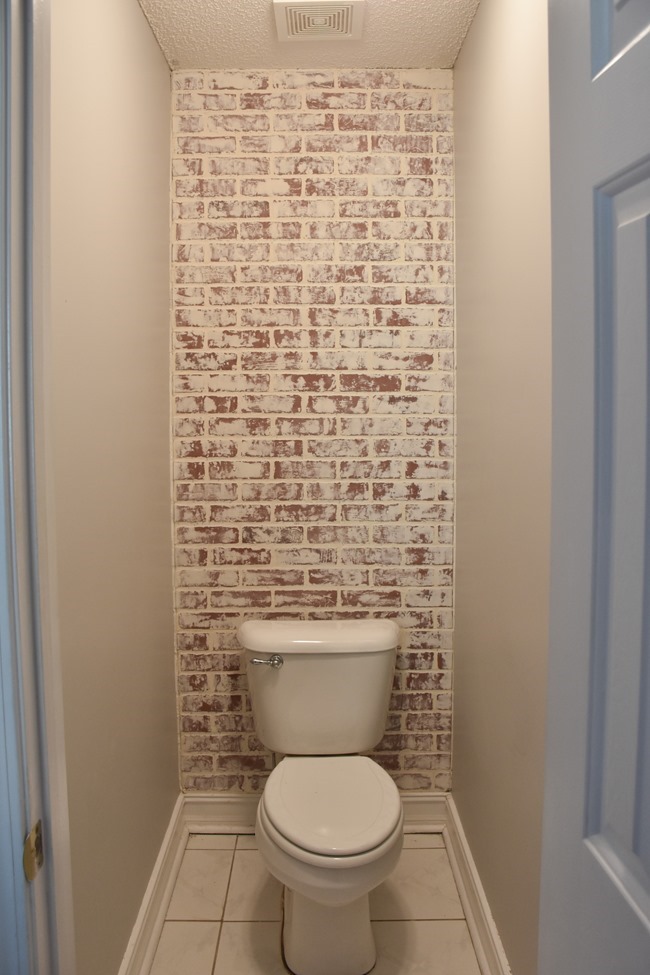
Here’s how it looks with the light off.
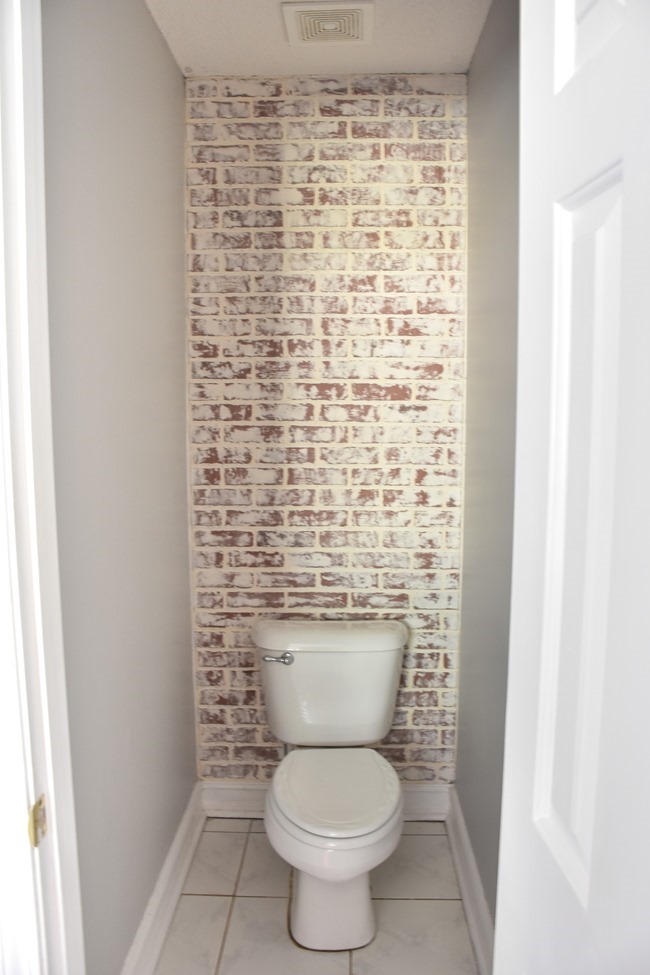
Now, I’m not sure if I will just leave like this or do one more step. Because this is joint compound or basically sheetrock mud it does feel a bit chalky but honestly who is going to be even in this room much less feeling the wall – lol. Since this is in our master bathroom in our bedroom no guests will probably even see this room (unless I am showing off the faux brick wall ![]() ) Most tutorials that I read that used this method will then use some very watered down white paint and do a “whitewash” over it to help seal it. I really don’t want to cover up any more of the exposed brick look so I am hesitant to do that. BUT I also see a bit of a pinkish tone to it after wiping it down several times (like the dust from the brick has colored the white compound a bit), so I may try a really watered down whitewash and see what it does. I’ll update this post with whatever I end up doing.
) Most tutorials that I read that used this method will then use some very watered down white paint and do a “whitewash” over it to help seal it. I really don’t want to cover up any more of the exposed brick look so I am hesitant to do that. BUT I also see a bit of a pinkish tone to it after wiping it down several times (like the dust from the brick has colored the white compound a bit), so I may try a really watered down whitewash and see what it does. I’ll update this post with whatever I end up doing.
BUT I’m still not done yet in here – can’t wait to see you what else I plan to do. Whew!! This month is going by fast – can’t believe the reveal is next Wednesday!! I have several other projects to show you before then so look for a post later this week and probably one before Wednesday and then the final reveal next week.
Check out how everyone else is doing on their room below!
Wow! Can’t wait to see what you add & complete room reveal. As always you are so creative and have a great sense of your style.
Wow, Christina, that is gorgeous! I didn’t realize you could buy faux brick paneling that looks that authentic. You did a great job with the schmear. As a German girl, I can totally appreciate that! Can’t wait to see the complete reveal!
I love the look of this! I can’t wait to see the big reveal!
Wow, that look is amazing! Can’t wait to see the rest of the room, you are so talented, and once again have offered another Idea I may incorporate in my own home.
Wow, that look is amazing! Can’t wait to see what you add & complete room reveal. You did a great job with the schmear. Thank you.
WOW SERIOUSLY IMPRESSED
Do you have any thoughts about how this would hold up if you hung something on it? I’m thinking of this look for the vanity wall, so would have a mirror hanging above vanity. It’s wood like correct, so wouldn’t crack if you screwed a hanging fixture through it into the stud?
I love it. Been debating doing the same in our toilet but am worried about cleaning. If there is any “splash”, is it easy to clean? Assuming you can’t use a cleaning spray on it? Would love to hear what your experience is. TIA
By using the joint compound did it turn a yellowish color over time? I have heard that is has a tendency to turn color over time.
This looks awesome! Great Job. I am wishing to tackle my huge family room fireplace which wraps into my kitchen. Is there a chance you can share your wall color. It is a gorgeous combination.
Thanks!
Wow, that’s gorgeous! You did a great job with the schmear. I really impressed