• Home
  • About Me
  • Projects
  • Advertise
  • Privacy Policy
  • Contact me

The Frugal Homemaker

Your guide to turning your house into a home... one DIY project and yard sale find at a time

Felt Flower tutorial (Guest post)

April 1, 2013

Hope you had a wonderful Easter weekend!  And welcome to April!    For the next few weeks on Monday, I will be sharing a mini series on each Monday entitled  “April Flowers“.  Cause I don’t know about you, but we have had way TOO many showers (and cold weather!) in March, and I am ready for spring and FLOWERS!

And I am honored to have my friend Christa who writes over at Brown Sugar Toast share the first post in our “April Flowers” series.  Christa has been a HUGE personal encouragement to me in blogging and a wonderful friend and I think you will appreciate her writing style and “craftiness!”

Take it away, Christa!

——————–

A few months ago, I revealed my new guest room curtains:

and promised to tell you how I made the flowers on the tiebacks. {& if you want to see the big guest room before & after post, click here!}
It really was very simple. Here’s what you need:

  • hot glue gun & glue sticks
  • felt – I used white, but you could use any color
  • ribbon (optional)
  • scissors
  • “model” flower – or just cut out your own pattern
So this all started when I bought this flower at Bath & Body Works. I was in there last year and had some coupon for a free lip gloss if I bought any item. I spotted these flowers at the checkout counter for a few bucks and decided to snag it:
 As I was walking out of the store, I examined the flower and was like, “I could make this!” So I excitedly went to Barnes & Noble (where my hubby & brothers-in-law were) and showed it to them. They were thrilled…as I’m sure you can imagine.

So here’s what you need to do:
See this? This is a picture of the bottom of my flower:

 I took this shape and made a cardboard template out of it:
Then I cut out 8 flowers identical to this one. I started out by tracing the flower on the felt, but that left some funky black marks around the felt, so in the end, I just cut around the flower shape without tracing.
After you have 8 flowers cut out and your glue gun is fired up, take one flower and lay it down. This is your base. If you’re using ribbon, cut two pieces (mine were each about 7″ long) and lay them on top of your base flower:

Now you are going to take another flower and fold it in half:

Fold it in half again:
And now hot glue it down on your base flower (right on top of the ribbon). You’re going to do this with 4 flowers and it will end up looking like this:

See how all the points are in the center? That’s how you want yours to look.

Now, you should have 3 flowers left. You are going to do the exact same folding technique with them and then glue them on top of your first layer. It will turn out looking like this:
Lovely, right? You can see how I used the ribbon to tie the flowers around the curtains. Easy peasy. Definitely adds more of a finished look to the curtains.

These blooms would look super cute on a headband, bag, shoes, sweater…you name it! Let me know if you make them. I’d love to see pics!!
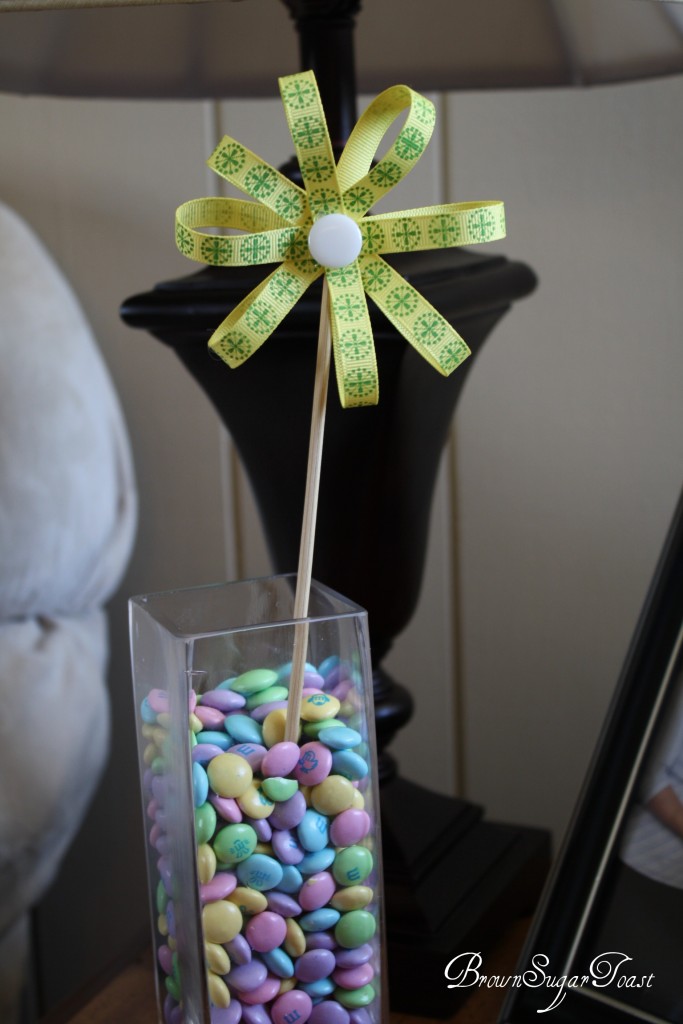
By the way, I also have a tutorial for these ribbon flowers on my site. Click here for the tutorial!

———————-

Don’t you love that?  So simple, easy to make, and versatile!  So grab some felt and get to crafting!

Make sure to go check out Christa’s blog or even follow her on facebook here to get updates of all her new posts.  I will be sharing another flower tutorial next Monday so you won’t want to miss that.

5 Comments LABELS ~ Crafts

SHARE >>
« House tour: Entryway
Painted dresser makeover »

RELATED POSTS

  • DIY Hair Bow Holder (plus where to find cute hairbands for cheap!)
  • Infinity Scarf tutorial (DIY Homemade Gifts for $5 or less)
  • Friday Frugal Finds: thrift store finds–shoes, kitchen décor, throws, and more
  • DIY Burlap + Lace Stockings

Comments

  1. Kim@Creating My Niche says

    April 1, 2013 at 1:30 PM

    This is so cute! I think it will make a beautiful flower for my baby’ girls next headband 🙂 Thanks!

    Reply
    • Christa @ BrownSugarToast says

      April 2, 2013 at 2:44 PM

      Oh, I’m sure that will be beautiful!!! Would love to see a pic after you make it!

      Reply
    • Christina says

      April 10, 2013 at 11:27 PM

      glad you liked it, Kim! Christa is so creative 🙂 and I bet your headband will be pretty!

      Reply
  2. thewhir.asia says

    April 25, 2013 at 8:47 PM

    You really make it appear so easy along with your presentation however I to find this topic to be really something that I think I’d never understand. It kind of feels too complex and very broad for me. I am looking forward for your next post, I’ll try to get
    the hang of it!

    Reply

Trackbacks

  1. NO-sew Burlap Rosette Tutorial (DIY Fabric Flower tutorial) - The Frugal Homemaker | The Frugal Homemaker says:
    April 10, 2013 at 9:00 AM

    […] you missed last weeks flower make sure to check out Christa’s felt flower tutorial  – easy to make and so […]

    Reply

Leave a Reply Cancel reply

Your email address will not be published. Required fields are marked *

This site uses Akismet to reduce spam. Learn how your comment data is processed.

Follow me:

  • Email
  • Facebook
  • Instagram
  • Pinterest
  • Twitter

Hi!  My name is Christina . . .

I love doing simple, frugal things to make our house feel like HOME! Come learn along with me how to have a beautiful home on a budget.

Recent Posts

  • How to find Homeschool student discounts on attractions or teacher discounts/freebies
  • Fall hosting essentials
  • Cozy & Comfy Warm Fall Fashion
  • Budget friendly fashion pieces to transition into Fall
  • Red, white, and blue sumer fashion for the whole crew!


THEME BY ECLAIR DESIGNS