I don’t know if you have ever worked with Mod Podge before but it is some amazing stuff! I don’t think I have ever used it, but that is definitely going to change! So if you have never used it and not sure how, hang on, cause I found it super easy and SUPER FUN!
I recently had the opportunity to partner with Plaid, the makers of Mod Podge, for a campaign and was elated when I received a big box in the mail containing TONS of Mod Podge, Mod Podge accessories, tools, and all kinds of products from their new line of Mod Podge “Podgeables”.
Can you believe all of this stuff? I need a whole craft closet to house it all! Even my hubby was curious and checking the stuff out, I think seeing if he could steal some of it for a car project or something. ![]() My mind is already spinning with all the projects I can do!
My mind is already spinning with all the projects I can do!
A few of the things you see are some stencils, Wash Out Mod Podge for kids (can’t wait to do some crafts with my nieces!), matte Mod Podge, gloss Mod Podge, super high gloss Mod Podge, Silicone craft mat, Repositionable glue, and so much more!
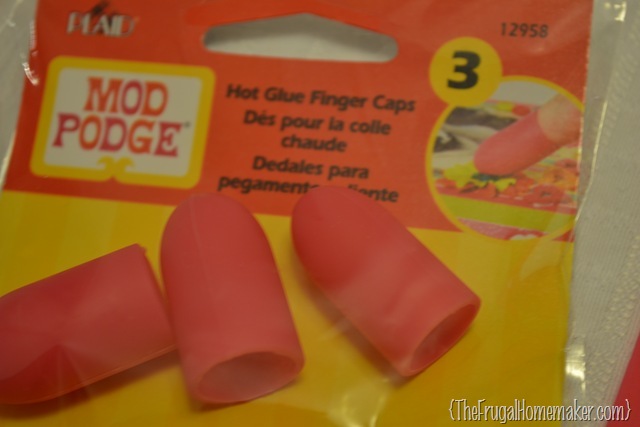
Here’s a few of my favorites and some of the newest products. Below the 2 spray cans you see a small package –T.H.E coolest thing ever!
These would have saved me SOOOOO many burns on the tips of my fingers in the past! ![]() And why, oh why did “I” not invent something like this?? But Mod Podge beat me to it and you can buy your very own at Michael’s for under $5.00 (or even less if you use a coupon.)
And why, oh why did “I” not invent something like this?? But Mod Podge beat me to it and you can buy your very own at Michael’s for under $5.00 (or even less if you use a coupon.)
Now for their new line called Podgeables.
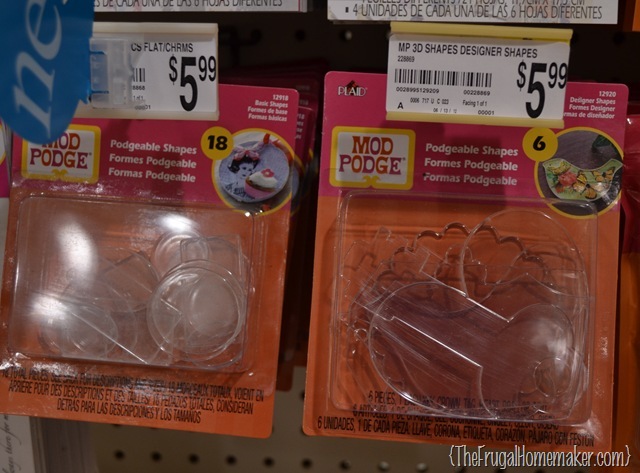
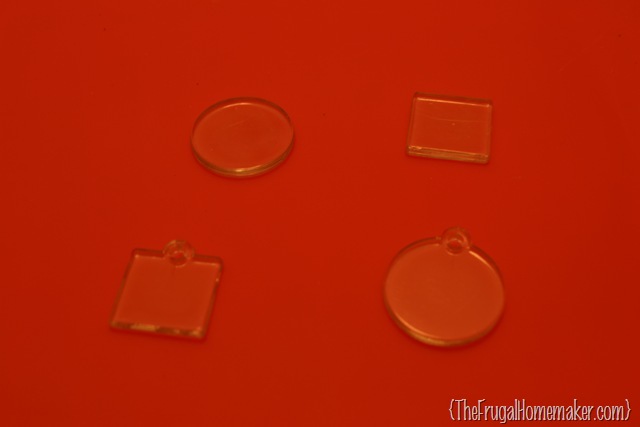
They have Podgeable shapes (here they are at my Michael’s). These are basically hard plastic shapes that you can mod podge stuff to to make all kinds of things. We’ll get to that later!
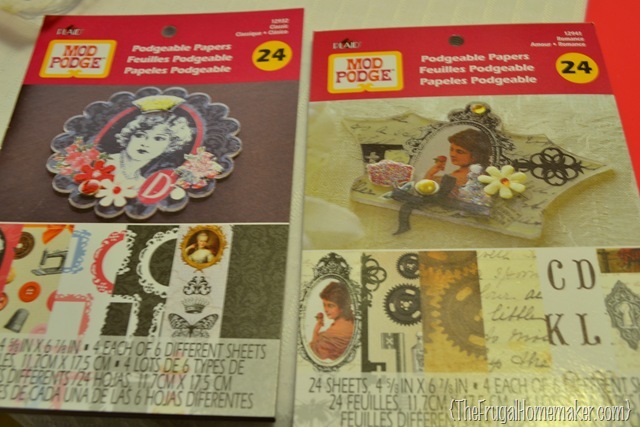
And Podgeable Papers which is basically scrapbook style paper, but the some of the shapes and pictures are sized specifically to fit the Podgeable shapes.
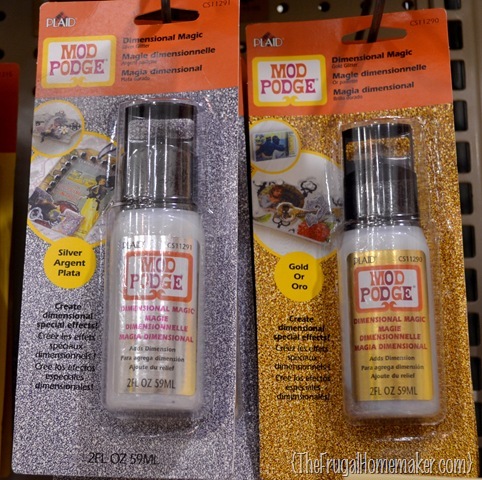
And another new product which is called Dimensional Magic. This is some amazing stuff too! I had NO idea how to use it, but once again it was SUPER easy and I can’t wait to do more projects with it!
Ok, now on to my project. I had a hard time deciding what to do. I am very much a “see it and re-create it” type person and I knew you could make jewelry with the Podgeable shapes so I decided to try that.
My nieces (ages 3 and 5) are very much into letters and spelling their name and finding letters that are in their name on other things. So I knew they would love an initial necklace!
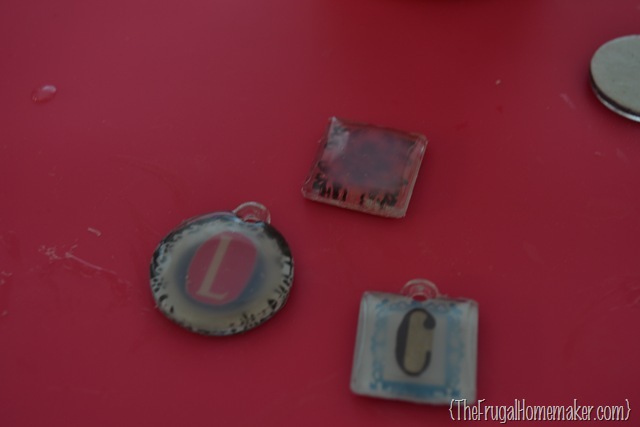
I took a few of the Podgeable shapes and then found some paper in one of the Podgeable paper books to go underneath it. I traced around the Podgeable shape and then cut out the paper. To adhere the paper to the Podgeable shape, I just brushed the front of the paper with some matte Mod Podge and then pressed it on the back of the shape to make sure I got any air bubbles out.
I am crafting on top of this silicone craft mat they sent me. (Takes horrible pictures, will have to remember that.) BUT it is great – no messing up the table, the glue just wipes right off! I am so going to use this for my hot glue projects too!
I then cut out some letters out of the Podgeable Paper books and adhered them to the front of the Podgeable shape.
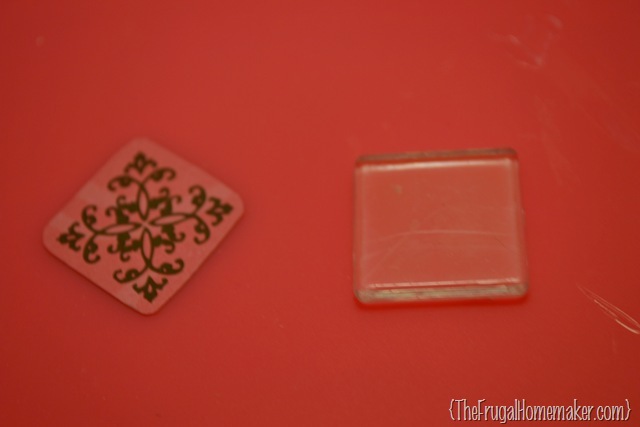
While that was drying I decided I wanted some mod podge jewelry too! ![]() So I found 2 more of the Podgeable shapes without loops on the top. I found some paper that I liked in the Podgeable paper packs and cut them out to fit my shapes.
So I found 2 more of the Podgeable shapes without loops on the top. I found some paper that I liked in the Podgeable paper packs and cut them out to fit my shapes.
See how the shapes fit perfect over the designs in the paper packs?
I followed the same method as above. Using matte mod podge to adhere the paper onto the back of the shape.
Then I decided I wanted to try the dimensional magic. I had read a little bit about it and realized that it made a new “dimension” onto whatever you apply it to. So on top of these shapes it would create a shiny, glossy, domed top. Now with most liquids if you applied them on top of something, they would run right off right?? This stuff is amazing! I don’t know exactly how it does it but it just runs right to the edge and stops and creates the perfect edge!
I used the silver dimensional magic (it also comes in clear and gold) and it added just a few specks of silver glitter here and there. Here it is applied on 3 of my 4 pieces.
It goes on opaque and then will dry clear. This picture was about 20 minutes after applying it and it has already started to dry a little around the edges and turn clear. You have to let this dry at least 3 hours or even overnight is better. And you can apply another coat if you want to create even more dimension.
Once they were dry, I glued some silver ring forms on the back of the ones I made for me and strung some skinny ribbon through the pendants for my nieces.
Here are my rings all finished! The pink one has dimensional magic on top, the round one does not. So you can see the difference that it makes.
And here it is modeled for you! (Excuse my paint speckled my nails. I went upstairs to clean the guest bathroom on Monday and ended up dragging out the paint cans and repainting the whole room! And redecorating as I put it all back…2 days before company coming – yep, that’s how I roll.)
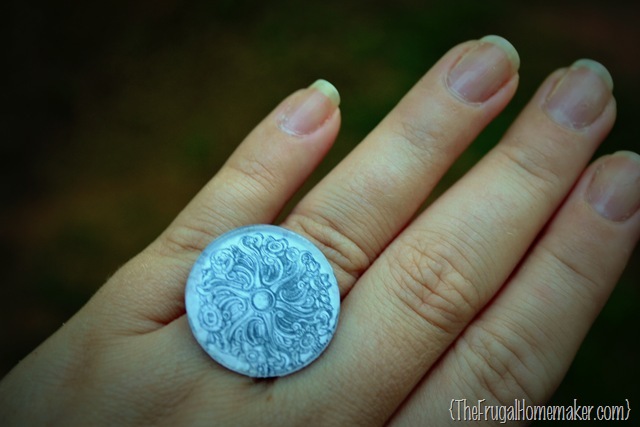 Oh the possibilities! I am thinking I can find some chevron paper and make a chevron patterned ring…. and then I saw that you can add jewels and embellishments on to it too. I am definitely going to do be mod podging (is that a word???
 ![]() ) myself some new jewelry. And I totally thought about this afterwards but you could totally use these same shapes and then glue them to bobby pins too for some fancy hair pins! Anyone want to have a mod podge craft party??
) myself some new jewelry. And I totally thought about this afterwards but you could totally use these same shapes and then glue them to bobby pins too for some fancy hair pins! Anyone want to have a mod podge craft party?? ![]()
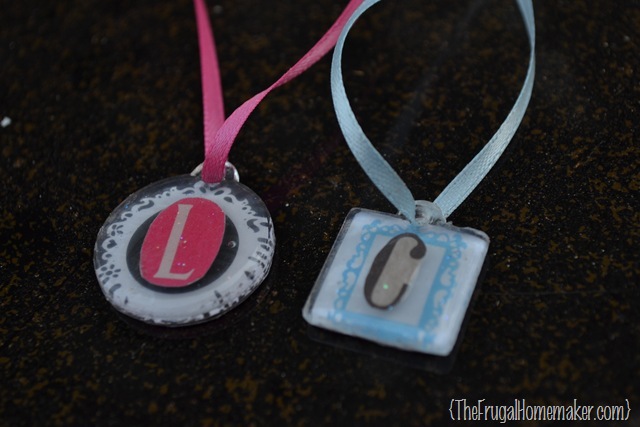
And here are my nieces initial pendants. I know they will love them! And they are durable and I don’t have to worry about them breaking them either.
Here’s a picture of the whole line of Mod Podge products at my Michael’s store. My store had everything in stock that I used – some of it just came on the market a few weeks ago. So grab your 40% coupon and go make some Mod Podge jewelry! (You can find Mod Podge in the glue section.)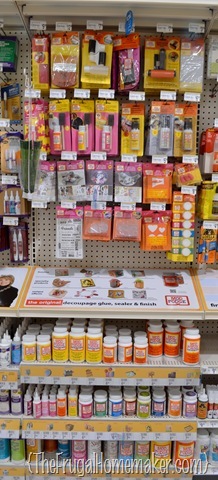
You can also check out Mod Podge’s full line of products on their site. They also have instructions and tutorials and links to other projects people have done. And if you want even more ideas and tips on new products and things you make with Mod Podge you can follow Plaid on Pinterest, on Facebook, and on Twitter.
And make sure to come back tomorrow…someone is going to get to try some Mod Podge projects of their own. It’s giveaway time!
{cj}
Disclosure: This post was written as part of a paid campaign with Plaid Crafts and Blueprint Social. I received product and compensation, but the opinions and ideas in this post are all my own.






Great ideas! I love the rings, I think my teen daughter and I will have to make some of these this summer! Good job!!
-Molly
(Mod Podge Launch group)
they were really fun and EASY!
You did a fantastic job! I’m sure we’ll be seeing tons more MP projects in the future 🙂 Your Michaels display is awesome. Mine is teeny tiny right now so guess I’ll just have to keep going back to check on it .
yes, I can’t wait to try some more projects!
That’s so cool! Great job and awesome that you are being paid to do something so fun!! =)
Thanks, Laine!
Love the scrolly looking ones. So pretty.
So pretty!
Can’t wait to try that silicone mat.
it really is great! that and the hot glue fingers have been used many times already! 🙂
LOVE your new DIY Mod Podge jewelry!
thanks, Katie!
These are so fun! I absolutely love making Mod Podge rings especially!
Thanks, Amy! I want to make some more and glue them on bobby pins! So many ideas!
Wow, I knew that Mod Podge made a lot of things, but I didn’t know they made this many! I use it a lot for making paper beads, but I haven’t tried a lot of the other stuff yet. (It’s very cool that you were able to team up with Plaid and try out the whole line for this review.) I really like the jewelry using the shapes. Thanks for the review and the great craft ideas!
Are Plaid craft products tested on animals? I’m a cruelty free crafter. Thanks!
I just wanted to let Tracy and everyone know that all Plaid products are vegan and cruelty-free. I researched this previously, and I am happy to report that you can craft away with Cruelty-Free abandon using Plaid products.
Christina, this is a PERFECT project for the young girls in a Beauties Bible Study group I help lead. We are going to have a summer sleep over and this will be one of the crafts. Thank you for your detailed how-to. I’m also going to share it on my Etsy shop fanpage. I invite you to shop by: http://www.facebook.com/eljahb
I also invite you to stop by my shop:) http://www.eljahb.etsy.com
I look forward to seeing more of your creative talents at work.
Blessings,
Rachel
I’m making unicorn necklace and i drew it and put it on tee shirts.to