So I am the last stop on the Bloggy Progressive Dinner and I hope that you saved some room for dessert. Although I think Laine’s homemade crescent rolls and Cranberry Feta Chopped Salad from yesterday could end off my meal just fine – can’t wait to make her rolls! 🙂
So today I am going to share a few things with you. First up our dessert, which is going to be a Strawberry and white chocolate layered cake frosted with a hint of lemon cream cheese icing. 🙂
But not only that – but I am going to show you how to make a semi-homemade cake that tastes like you spend hours in the kitchen (but you didn’t) AND show you how to DIY frost/decorate a cake like a pro. So hang on… lots of pictures ahead.
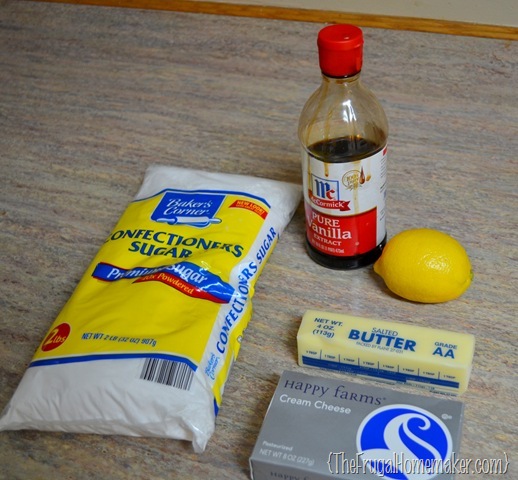
Here’s what you will need:
Yes we are using a cake mix, BUT we are basically going to use it like it is our flour/baking powder because remember this is semi-homemade. Let me stop right here and say, NEVER use oil in a cake mix (brownie mix is ok) ALWAYS substitute butter or margarine – the difference you get in taste is night and day. Adding an extra egg, pudding, and butter makes this cake not taste like a boxed mix cake at all.
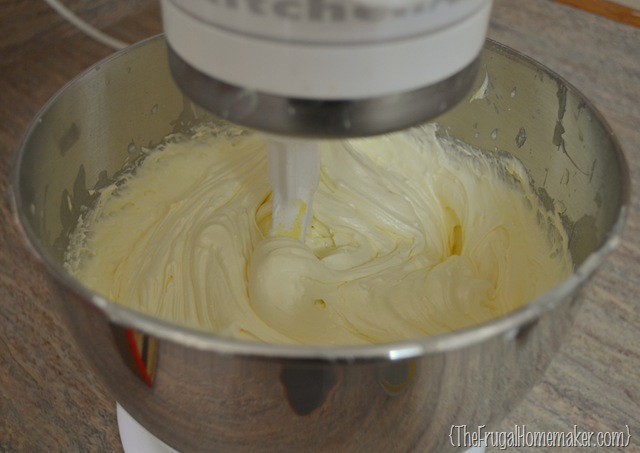
Mix 4 eggs, 1 stick of butter, and 1 cup milk in mixer.
Add in cake mix and box of vanilla pudding. Beat until fluffy.
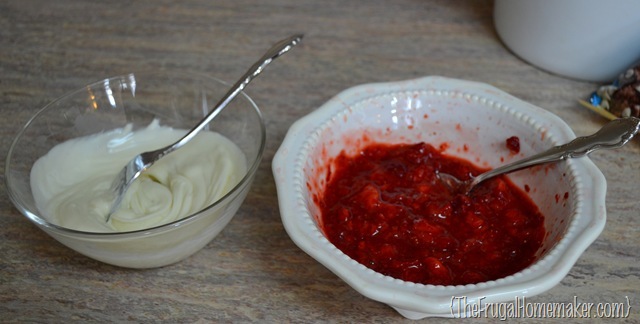
Melt 1 cup of white chocolate and set aside. Wash, de-stem, and mash your package of strawberries (about 1-1 1/2 cups) – make sure to set aside 4-5 good looking strawberries for the top of the cake.
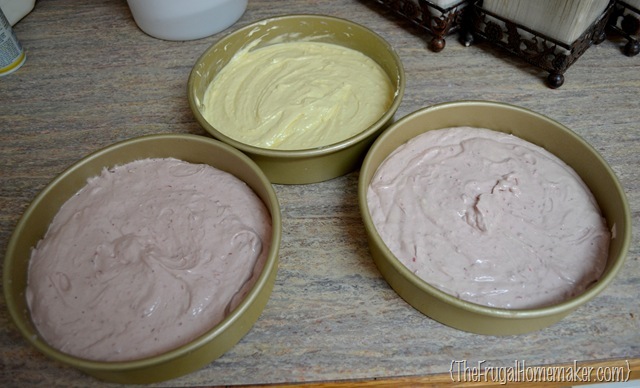
Take out 1/3 of your batter and mix in melted white chocolate.
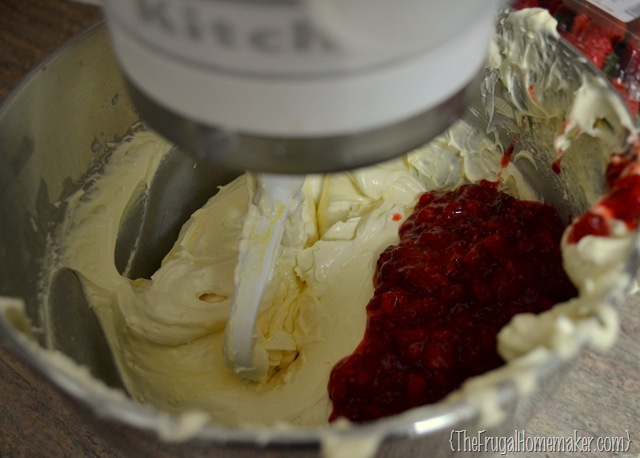
Mix in your mashed strawberries with the other 2/3 of batter. (You can add some red food coloring if you really wish it to be pink/red in color.)
Put it in three greased 8 or 9 inch cake pans and bake for 22-25 minutes until lightly browned. Let cool for 10 minutes in pan then cool completely on metal rack.
Now here’s what you need for the cream cheese icing.
Somehow I forgot to take pictures here but basically whip your stick of softened butter and softened cream cheese until smooth. Add 1 tsp. of vanilla, 2 Tbsp. of milk, and zest and juice of 1 lemon. Then sift in powdered sugar. You will want your icing to be smooth and somewhat thin (easily spreadable) so add more milk as needed.
Put the first strawberry cake on a platter or cake plate.
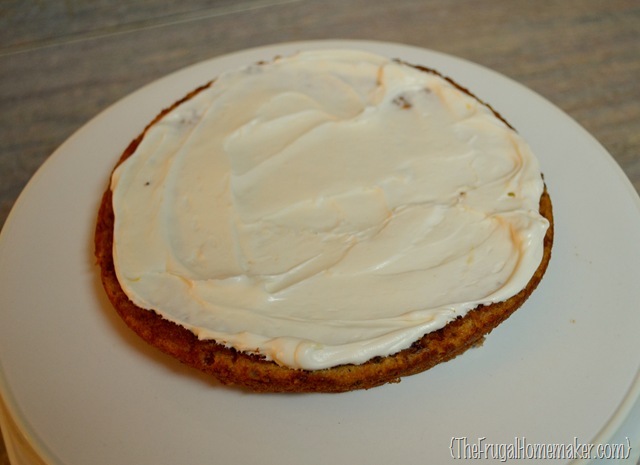
Place spoonful of icing on cake and smooth not quite to the edge
Oh, let me stop and tell you my favorite cake icing tool. (And I use this for frosting brownies, spreading cream cheese on bagels, whatever.) This is called an offset or angled spatula. As you can see it is angled so that your hand and the handle stays above/away from what you are frosting. Wonderful kitchen tool!
Ok, so the first layer is covered lightly in icing.
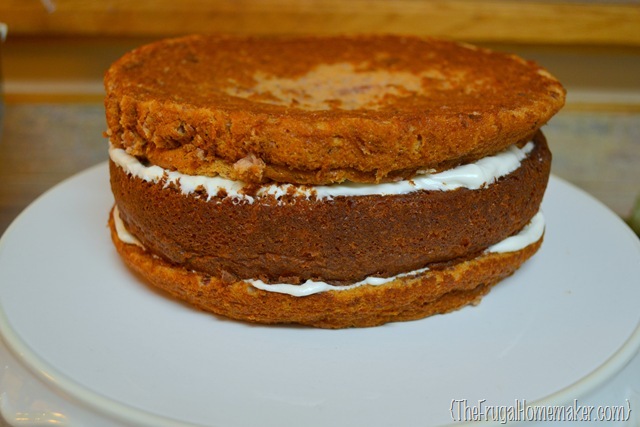
Next add the white chocolate layer, more icing, then the last strawberry cake layer. (You will want the bottom of the last cake – the part that was touching the pan – to now be the top of your cake. That part of the cake is less “crummy” and makes it easier to ice.)
At this point,since we are working with cream cheese icing, if your icing is really soft or your cakes are sliding at all, put cake in refrigerator to cool and set for about 20 minutes.
If all is holding together fine – proceed to icing cake.
I decorate cakes as a small side business so I am going to share some simple and easy steps you can frost and decorate cakes like a pro. ![]()
Spoon a large pile of icing on the top of your cake.
With your offset spatula, gently spread icing to the edge and let it sort of “fall over” the edge. As it is “falling off” you are going to smooth it onto the side of your cake all the way to the bottom. Hard to describe or picture but you will get what I am saying when you try it, I promise. ![]()
Keep spreading out that big pile of icing to the edge of the cake and then push it over edge and spread onto sides. (See your layers don’t have to be perfect. Mine certainly aren’t in this cake but once you get it frosted you will never know.)
I had my husband help take a picture of how I am using the spatula. See only the flat part is touch the cake and my hand is far away. If you were using a regular knife, you would be dragging your knuckles through the cake and it is just much harder.
Continue until the whole cake is iced. See even I don’t have a smooth cake at first! But we are going to fix that.
Since cream cheese icing is really soft and can get runny as it gets warm, this time you definitely need to put your cake in the refrigerator to set for 20-30 minutes.
Now the smoothing begins. Now when I am making a cake for just family dinner or a holiday, I don’t strive to get 100% perfectly smooth. I just want it basically smooth.
You will need a cup of water or milk. Using your angled spatula again, dip it in the liquid and then smooth the sides of the cake, turning the cake as you smooth. Keep dipping your spatula and then smoothing the cake. You can even smooth from the bottom up if you are wanting to get a nice crisp edge on your top edge.
You should be able to get your icing fairly smooth with not too much effort (cream cheese icing is easier than most to get smooth.) Once you smooth the sides then smooth the top.
Now I want to show you a cake decorating tip that I think EVERYONE should have – it is the 1M star tip. You can use this tip for so many things (I will share in a later post how to decorate cupcakes in a breeze with this tip) and it really does make the job SIMPLE and easy! ![]() And it only costs $1.49 (this was at Michael’s but Hobby Lobby and maybe even Wal-mart should carry this tip.)
And it only costs $1.49 (this was at Michael’s but Hobby Lobby and maybe even Wal-mart should carry this tip.)
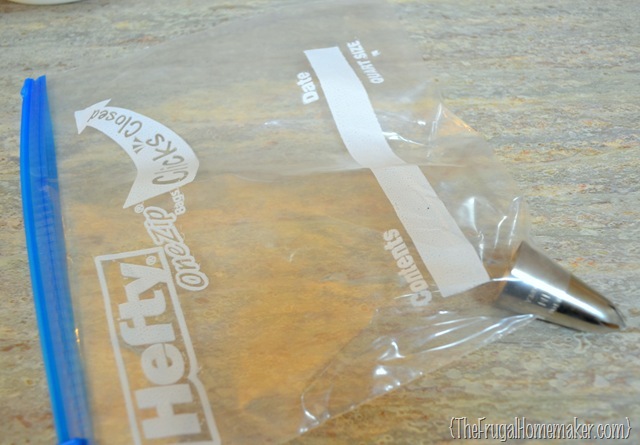
Now this tip is of course meant to be used with a pastry icing bag which I usually use. But you can just as easily use a FREEZER ziploc bag with the corner cut off as your icing bag if you wish. Just make sure the tip fits snugly and won’t come out.
Fill your ziploc bag or icing bag with frosting.
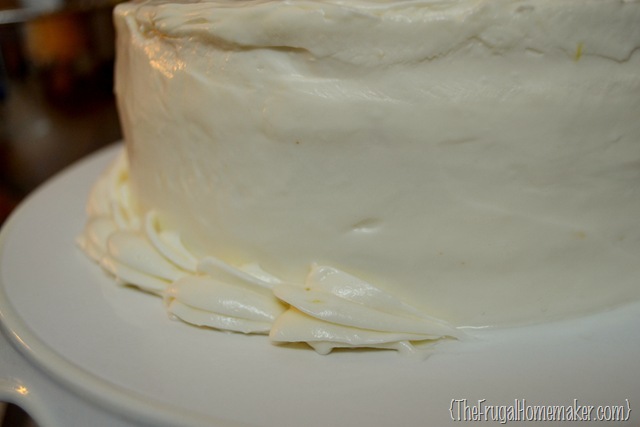
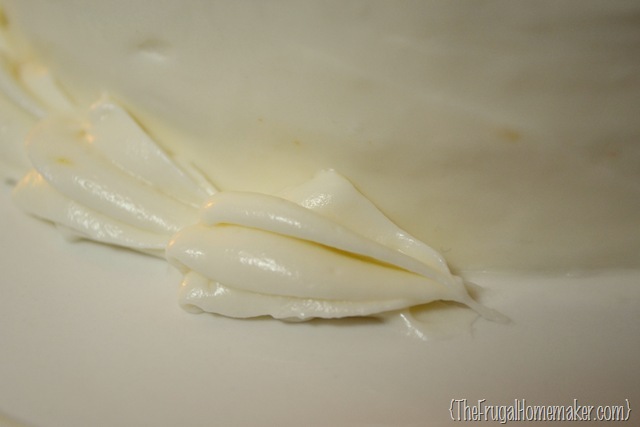
This piped design is called a “shell”. It is a basic, easy decorative edge for a cake. You put your tip almost touching the base of the cake and with your bag sort of parallel to the cake (not coming straight on at the cake.) Squeeze hard at fast (squeezing out a good bit of icing) then taper off your pressure and amount squeezed out as you end and pull away.
I would suggest practicing this technique on a plate or a piece of wax paper until you feel comfortable. Then just scrape your icing back into the bowl and you are ready to begin.
Continue piping “shells” around the bottom edge of the cake. (If you weren’t going to use fresh fruit on the top, you could pipe the same design on the top edge of the cake as well.)
Since it is a strawberry cake we are going to add some fresh strawberries to the top. Wash, stem, and slice 3-4 strawberries. You will only want to use the middle “pretty” slices and you can dispose of the others however you choose.
I laid my strawberry slices around the top of the cake. Then I used my ziploc icing bag and the same tip to make a “star” or a fancy dot of icing. This time hold your icing bag completely vertical and the tip touching the cake. Squeeze hard to begin and as you squeeze pull up and slowly lighten your pressure to form a “point”. (Again, practice a few before you begin.)
Add a whole strawberry to the middle and you are done! Your cake looks like you bought it at your local bakery, but will taste homemade! And I promise, it really is not hard at all and doesn’t take long either. I would say from the time I started frosting until I completely finished piping and adding strawberries was not longer than 20-25 minutes (not including setting time in the fridge). So not counting baking, cooling, and setting time you could easily prepare this cake in less then 45 minutes.
Yum… there is something about fresh strawberries, cream cheese and cake that is just heavenly!
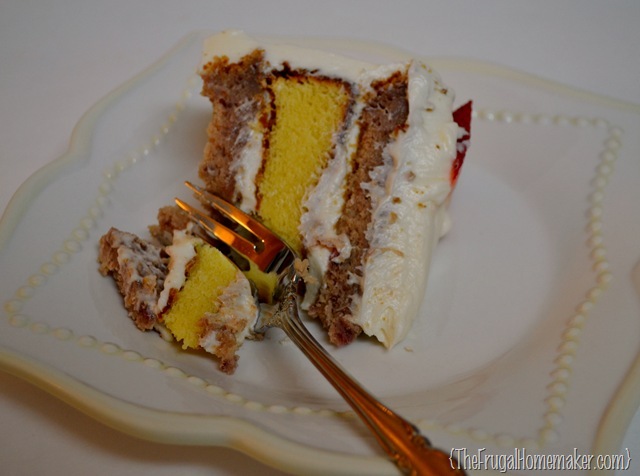
Oh, and you probably want to see inside. I wish I would have added some red coloring but it looks ok without it.
Mmm… I didn’t tell my husband what any of the flavors were and gave him 2 bites. He definitely said it had cream cheese icing with a little lemon and thought the middle layer was a custard (guess that is close to white chocolate) and then of course tasted the strawberries. It passed his taste test 🙂
So there you go! A perfect spring or summer dessert and some tips on how you can frost and decorate your next cake simply and beautifully!
I hope you enjoyed our Bloggy Progressive Dinner! If you missed any parts of this meal here are all the links:
- Minty Peach Iced Tea by Living Unbound
- Cucumber Pizzas by Living, Laughing, and Loving
- Apricot Glazed Ham by Brown Sugar Toast
- Simple Crescent Rolls + Cranberry Feta Chopped Salad by It’s Just Laine
- and of course dessert above!
Hopefully you gained some new ideas or a new recipe to try this spring and maybe even for Easter dinner.
Have you ever tried to frost and simply decorate a cake? Did you find it easy or hard?
{cj}
Sometimes I link up to these wonderful parties:
Sarahndipities, Skip to my Lou, Today’s Creative Blog, How to Nest for Less, Home Stories A to Z, Apron Thrift Girl, Tools are for women too, Not just a Housewife, A bowl full of lemons, Uncommon Designs Online, Someday Crafts, No Minimalist Here,Somewhat Simple, 36th Avenue, Sew Much Ado, The Style Sisters, The Thrifty Home, Domestically Speaking, House of Hepworths, The Shabby Creek Cottage, Weekend Blogging party at Serenity Now, Home Happy Home, Tatertots and Jello,Funky Junk InteriorsThe Girl CreativeMiss Mustard Seed, Chic on a Shoestring Decorating, Remodelaholic, The Lettered Cottage, Before and after party at Thrifty Decor Chick, Pinterest Challenge at Young House Love









Yummy! I hope you’re sending a piece up my way?
🙂
Beautiful cake and I know it is delicious. You did a great job and I appreciate the tips!!
The cake looks delicious!! I always do HORRIBLE at frosting cakes but I think I’m going to invest in the tools you featured and give it a try! Enjoyed reading the recipe and appreciate you sharing those helpful tips as well! =)
yes, look for one of those spatulas! i use it for tons of stuff – frosting brownies in the pan, cream cheese on a bagel and so much more. they are rather cheap at Michael’s (look in the cake section) and use a 40% coupon.
Had to come back and say how yummy this looks! Love how you make it look so easy! Love the strawberries on top too! I agree with Rachel, I need one of those flat spatula things!
yes, you do! they are probably less then $5 at Michael’s and you can use a 40% coupon too. It is so good for so many things- frosting on brownies in a pan, cream cheese on bagels, so much! 🙂
So I am making a cake today and going to sub butter for the oil. First time! And all because of your suggestion. 😀
yay! did your friend tell you if it tasted good? 😉
Do you think that this recipe would still taste good if I substituted vanilla cake for the white chocolate cake layer?
sure, I think it would be fine!
hi! , Everyone loves ones crafting so a whole lot! fraction we all communicate more close to your post in America online? I personally involve an experienced in this field to unravel the trouble. Probably that may be you actually! Waiting for look an individual.