Disclosure: This is a sponsored post. Full disclosure at bottom of post.
I hope you had a wonderful Christmas!! I will share a bit more about ours later on this week, but today I want to show you a project I recently completed. I got a jump start on my January to-do list!
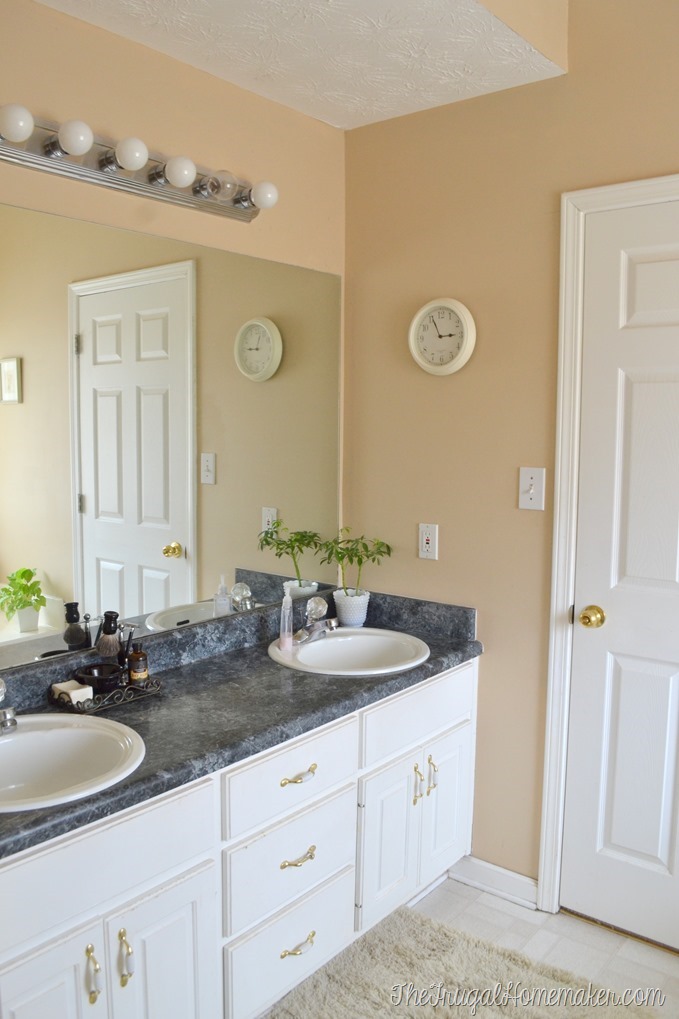
Let’s take a peek into a room you have never seen before on the blog – the master bathroom. Yes, this beige beauty is right off our master bedroom with it’s freshly painted gray walls. And it was time for the beige to be banished from the bathroom as well! ![]()

I have done pretty much NOTHING in this bathroom in the last 10 years since we moved in this house. Which was before I knew anything about anything about decorating, so I will understand if the pin it button refuses to work on these first few pictures – actually I will just disable it cause NO ONE is going to be pinning these photos. ![]()

Hollywood strip light fixture, brass and white cabinet handles, beige from floor to ceiling, art too tiny for the walls – it was literally screaming for a makeover.
So when ScotchBlue™ Painter’s Tape challenged me to do a DIY wall painting project I knew just where I wanted to do it.
You see I have had this picture from Live Love DIY pinned on my Rooms: Master Bathroom Pinterest board for 2 YEARS – yep, been wanting to do this project in my bathroom since then – thanks to ScotchBlue™ Painter’s Tape for finally making me doing it! ![]()

My bathroom has that same wall in the sink nook and I thought adding some subtle stripes like that would be perfect!

Here’s the supplies I used and they can all be found at The Home Depot:
-
Behr® Marquee ™ Magnet (MQ2-61) in Eggshell
-
Behr® Marquee ™ Magnet (MQ2-61) in Semi-gloss enamel
-
Behr® Premium Plus Ultra ® Pure White (PPU18-6) in Semi-gloss for trim + cabinets
-
Wooster® Pro Angle Brush
-
Wooster® Pro small rollers + roller frame
-
ScotchBlue™ Painter’s Tape Delicate Surfaces with Advanced Edge-Lock™ Paint Line Protector 2080EL
-
tape measure
-
pencil
-
level
I painted the entire bathroom in Behr ® Marquee ™ Magnet in Eggshell. All in ONE coat – which with those tall angled ceilings was all I wanted to do – love that paint! This is the same gray I used in our master bathroom and it is the perfect not-blue/taupey dark gray. I was a little worried that the gray might be too dark for the bathroom since it just has one window and one light fixture. But I honestly think it makes the bathroom look brighter (you may not be able to tell in the pictures). I think that warm paint colors especially beige just suck the light up, where a cooler color reflects the light more? And the sheen of the paint helps too – I had flat paint in here before (horrible, horrible – do not do flat paint in bathroom – you want eggshell at least for easy cleaning!) – eggshell or even semi-gloss helps reflect the light too where flat just soaks it up. And the contrast of the white ceiling, trim, doors, cabinetry, etc just brightens up the room too.
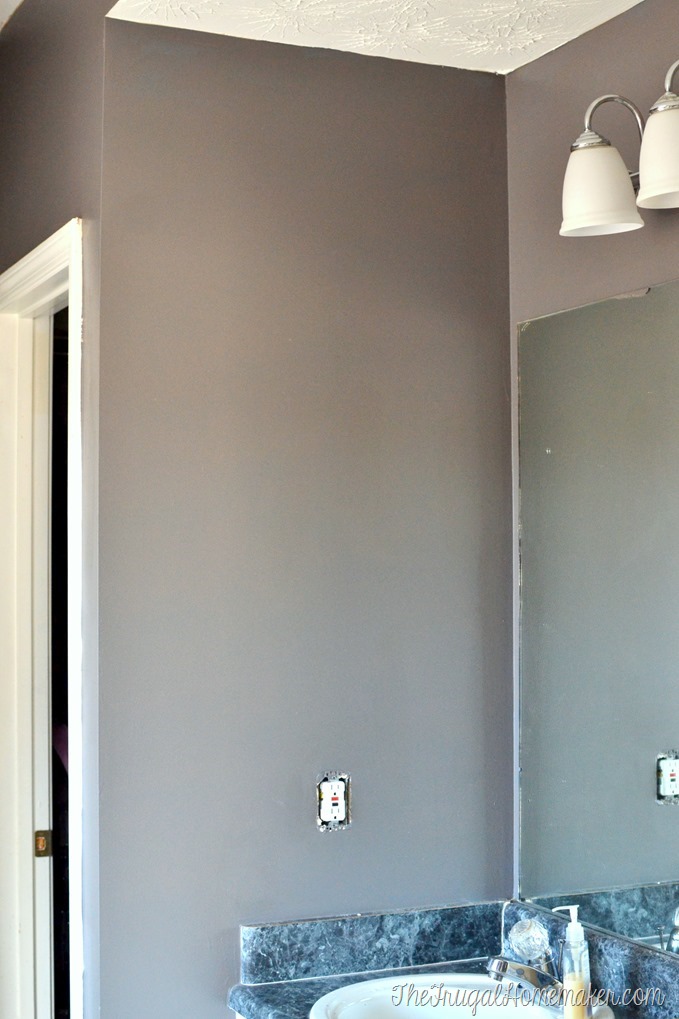
Then it was time to mark off the lines. I first measured the wall from ceiling to trim – 93 inches. I divided that by 8, 9, or 10 to see which one gave me an easy number of inches to work with for the stripes. 92 inches divided into 8 stripes came to 11.5 inches so that is what I did and then just an extra .5 inch to the top and bottom and you can’t even tell.
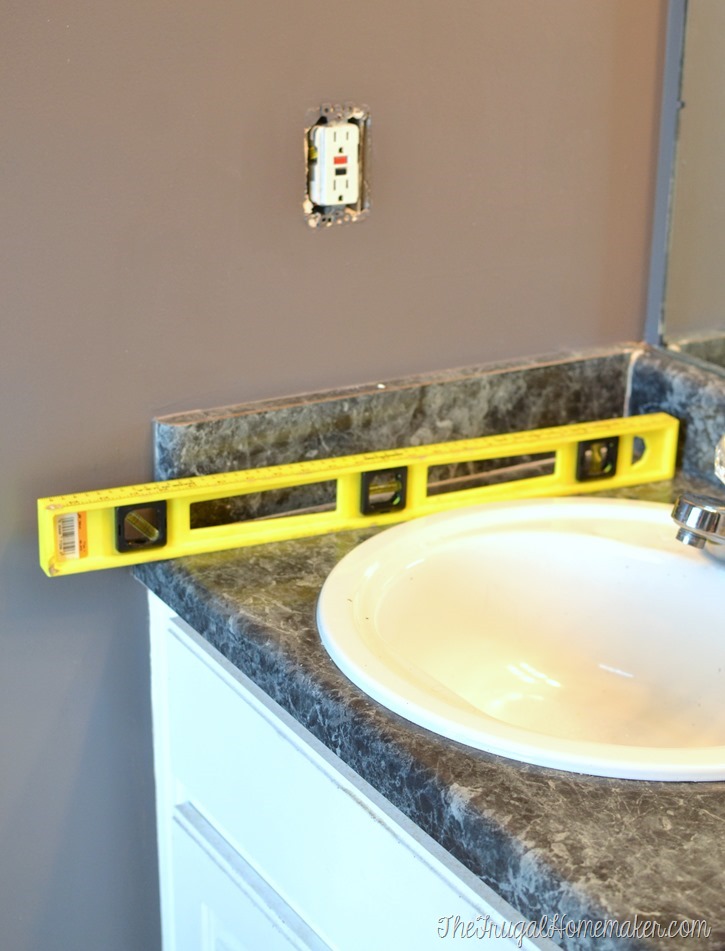
I marked off little pencil marks using a tape measure at 11.5 inches all the way down the wall and then used this level/straight edge to mark a straight, level line. LOVE this straight edge/level – highly recommend you get one. I use it for so many things and it made this job super fast and easy especially since the wall was so small.
Now tape off your wall. I used ScotchBlue™ Painter’s Tape Delicate Surfaces with Advanced Edge-Lock™ Paint Line Protector (the one with the orange label) because this was a freshly painted surface at least 24 hours old.
When you are painting stripes I find it best to put a small piece of tape in the stripes you won’t be painting – just so you don’t accidently paint the wrong stripe or put the tape on the wrong side of the line.

These little Wooster paint rollers were perfect for painting the stripes and I also used another one to paint the cabinets.
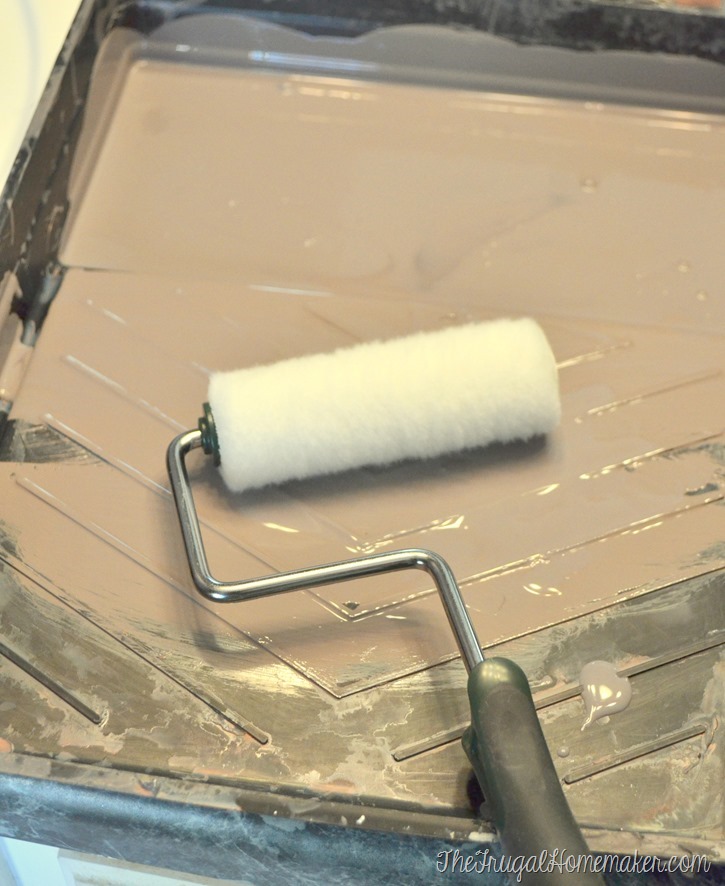
Stripes are painted! I used the same color of paint just a higher sheen – Behr ® Marquee ™ Magnet in Semi-gloss enamel. I did 2 light coats just ot be safe and because I was going over it in a higher sheen. As soon as I painted the 2nd coat I immediately took off the tape.
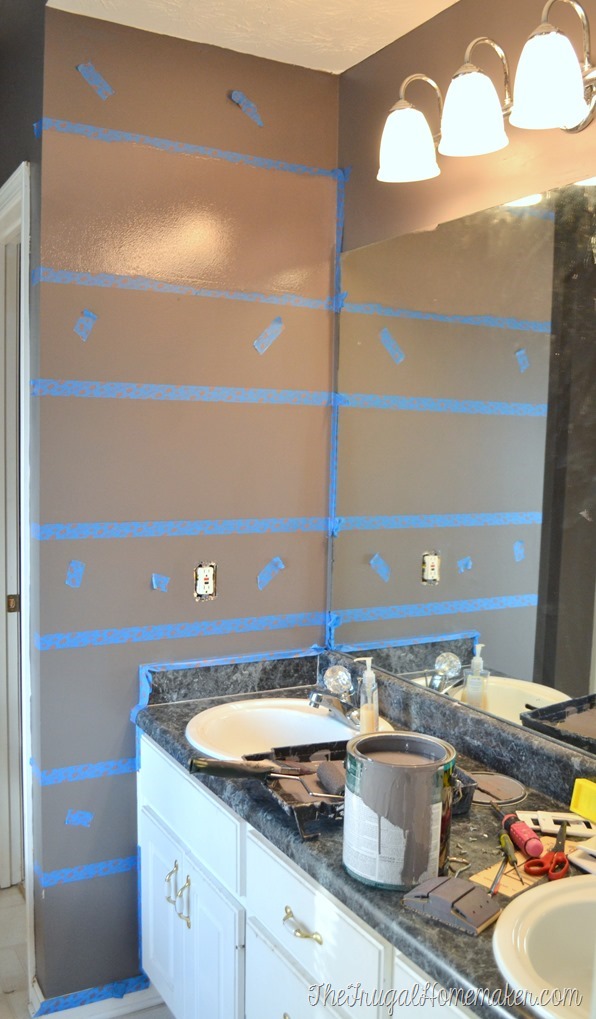
And I love it!

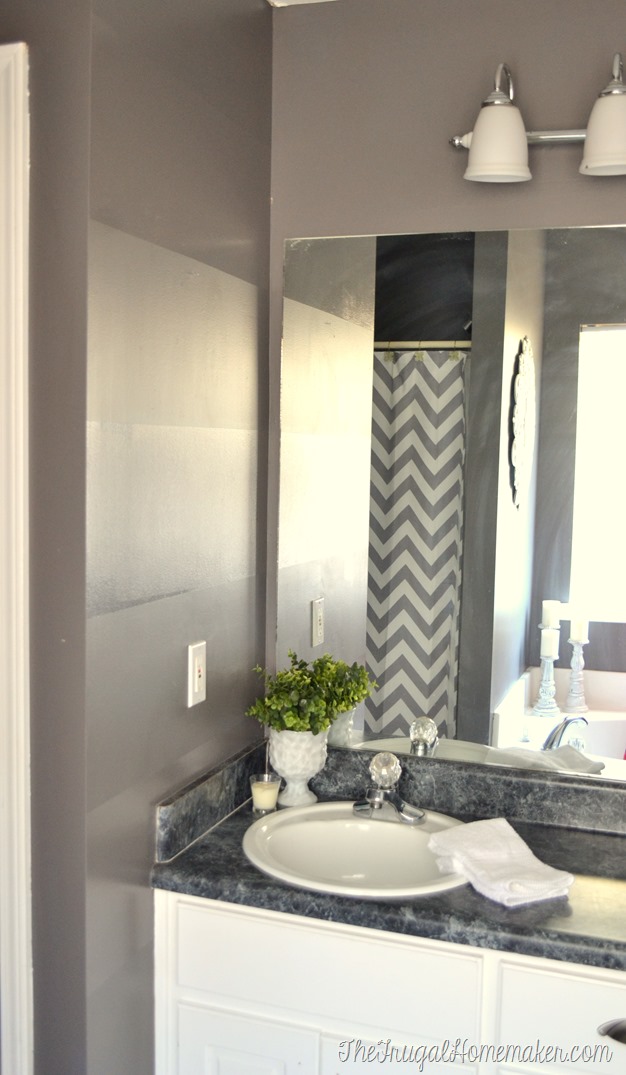
Super sharp paint lines!
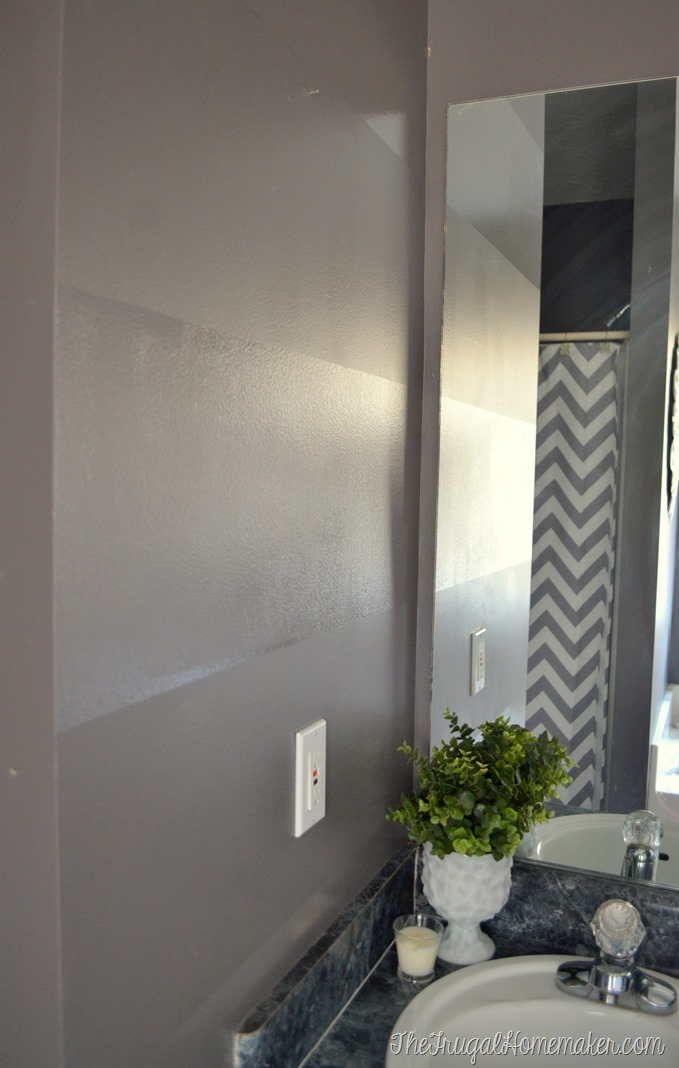


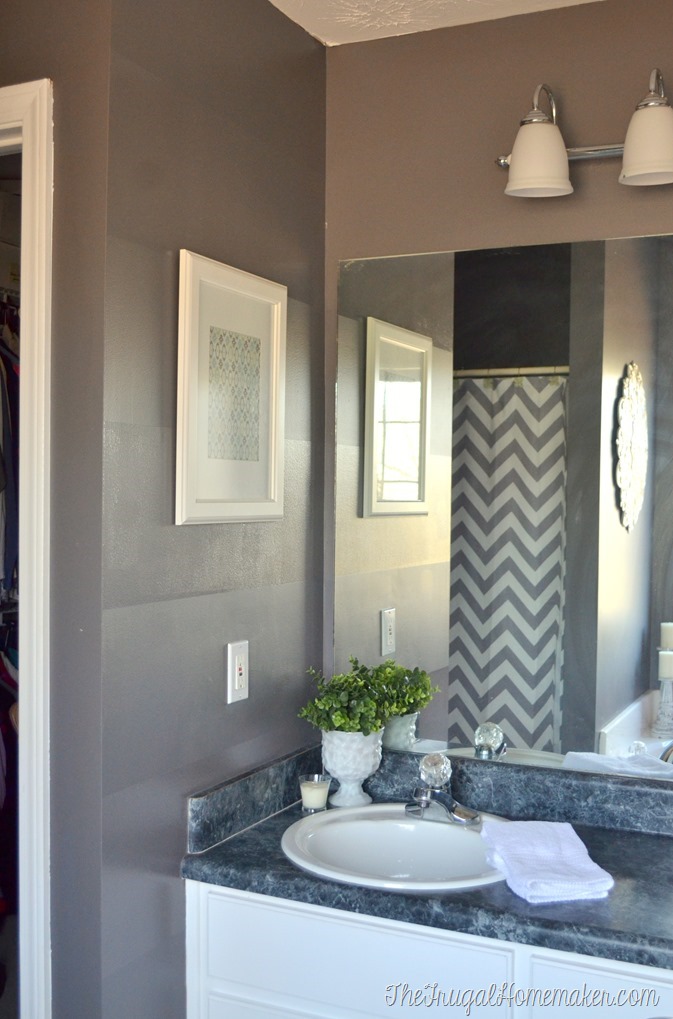
You are getting just a sneak peak at the rest of the bathroom for now.

I have several other DIY projects to work on in this room – framing in the mirror, building some shelves for over the tub, and making a curtain for the window so hoping to start tackling those along with finishing the bedroom in January. And will be sure to share each one along with a complete before/after post. BUT for now I have been enjoying this beautiful, updated, spa-like master bathroom – Merry Christmas to me! ![]()

You can find all the products needed to complete this project at The Home Depot.
I am proud to be a 3M, Behr®, and Wooster® – sponsored blogger, and, as part of my responsibilities, I get the opportunity to evaluate products. Opinions are my own and additional product used in the project were selected by me.
Follow them on social media for more ideas:
- ScotchBlue™ Painter’s Tape Facebook
- ScotchBlue™ Painter’s Tape Twitter
- ScotchBlue™ Painter’s Tape Pinterest
- The Home Depot Facebook
- The Home Depot Twitter
- The Home Depot Pinterest
- The Home Depot Consumer Program
I am proud to be a 3M, Behr®, and Wooster® – sponsored blogger, and, as part of my responsibilities, I get the opportunity to evaluate products. Opinions are my own and additional product used in the project were selected by me.


HI Christina,
I love the master bathroom makeover so far!! Can’t believe what a huge difference just painting the walls made!? Love the gray……. My other favorite is the new light fixture – so pretty! Thanks for sharing – Can’t wait to see the rest!
Happy New Year!
Lanita
I love your “new ” master bath. It looks so fresh. The upgrade on the cabinet pulls really changed the look. Must try that! Keep it up. I’m almost motivated!
Wow, looks great already! Looking forward to seeing the rest. 🙂
Happy 2015!
Sherri
Looks great! Can’t wait to see it all finished.
GREAT painting idea! I really like it! And I like your shower curtain, too.
I really like the stripes with a higher sheen. Are you planning to do these on any of the other bathroom walls?
Not in this bathroom. Every other wall connects to a wall or is a wall that goes up into a tall peek/A-frame ceiling. 🙁
BUT I think I may do stripes like this on a wall in my guest room. It is a super easy project (much easier than my diamond wall) but like you said just using the higher sheen paint creates such interest! 🙂
Love it!!!
The Paint Idea was fantastic.
Very classy and simple, I guess simple is the new classy! 😀
Loved the post, keep posting!