I am so excited to not only share this project with you but also to tell you that I am going to be partnering with 40 other bloggers each month for a DIY challenge! Each month will have a specific theme which we will take and put our own spin on in our home. This month was an DIY organization build challenge and it was the final push for me to complete a project I’ve been wanting to do since we moved in our home 2.5 years ago. We needed a spot and storage for jackets, shoes, purses, and bookbags so I created this DIY shiplap hall tree with a bench.
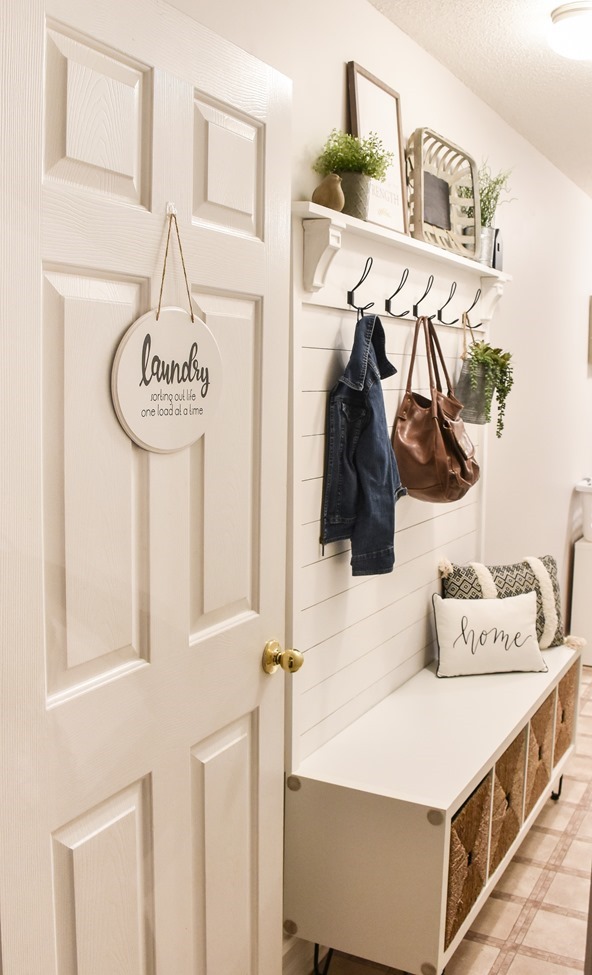
First, let’s go back and look at some before pictures and I’ll explain all the details of why I chose this spot, design, and more.
We bought a fixer-upper home in May of 2016 and have been working on updating it and adding our own personal touches on it since then. The laundry room started out like this – random benches and pieces of furniture ended up in here until I could figure out a plan. This room is a bit awkward as it has a long narrow hallway (going along where stairs go up to our bonus room) and then the actual laundry part is at the end of the hall.

The laundry area started out like this and left a lot to be desired in looks and function.
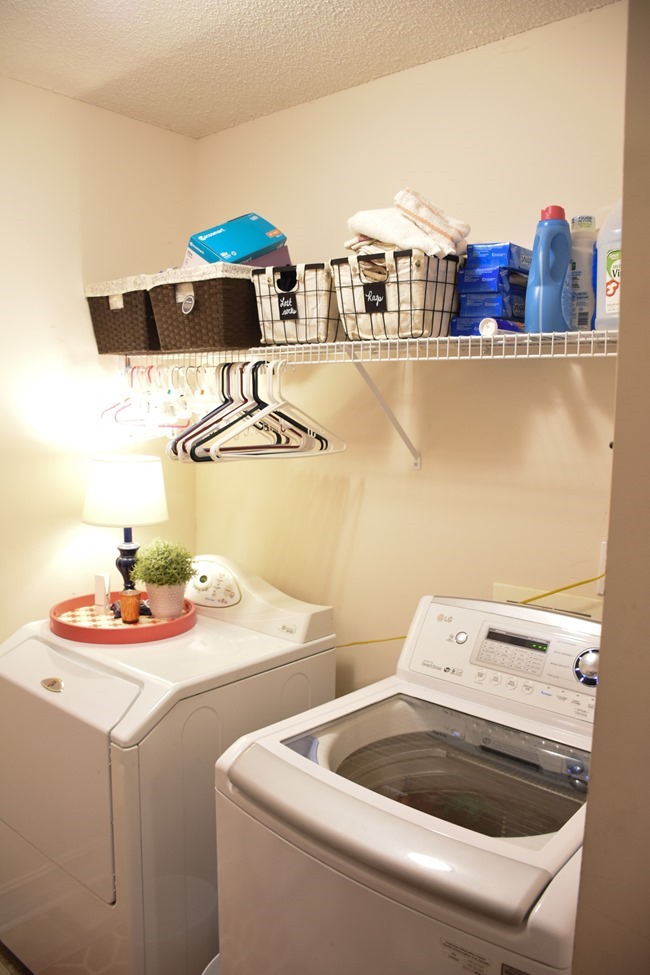
Last January I gave the laundry area a big makeover on a $100 budget using some Habitat store thrifted cabinets, paint I already had, and lots of DIY projects. You can see that entire laundry room makeover here.

That still left this narrow hallway which needed to serve 2 purposes. I needed extra pantry storage back near the washer and dryer which is sort of in progress right now with a large IKEA cabinet I found recently – I just need to find a solution to cover the electrical box and a way to hang wet clothes to dry or hanging clothes out of the dryer. I also needed the hall to serve as a mudroom type area since the laundry room is literally 4 steps from the garage door and there is no other space for something like that. The one complication was that because the hall is narrow nothing can be permanently built sticking out into the hallway since a washer and dryer may have to be moved in and out.
I had this IKEA cube unit that had been used as a bench in our bedroom in our last house and then in my daughter’s nursery closet, but wasn’t being used any longer. After considering many different options I decided that using this would the best solution – keeping the cube unit completely freestanding so it could be moved in and out if needed and then adding a shiplap hall tree directly onto the wall making it appear like one solid unit. Here’s where I started with this project….
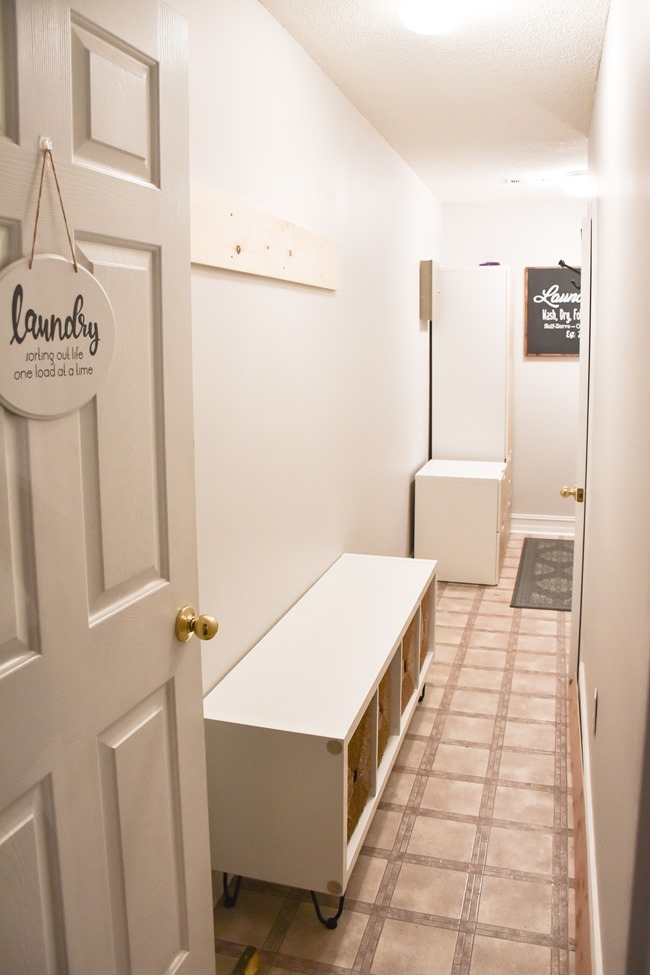
First thing I did was to order some hairpin legs to allow the cube unit to clear the baseboards and sit flush up against the wall. These legs are very strong and I also loved the look of them too! I found a good placement on the wall between the door to the laundry room and the door on the opposite wall (that’s a small hot water closet under the stairs) and decided on a height for the hooks.
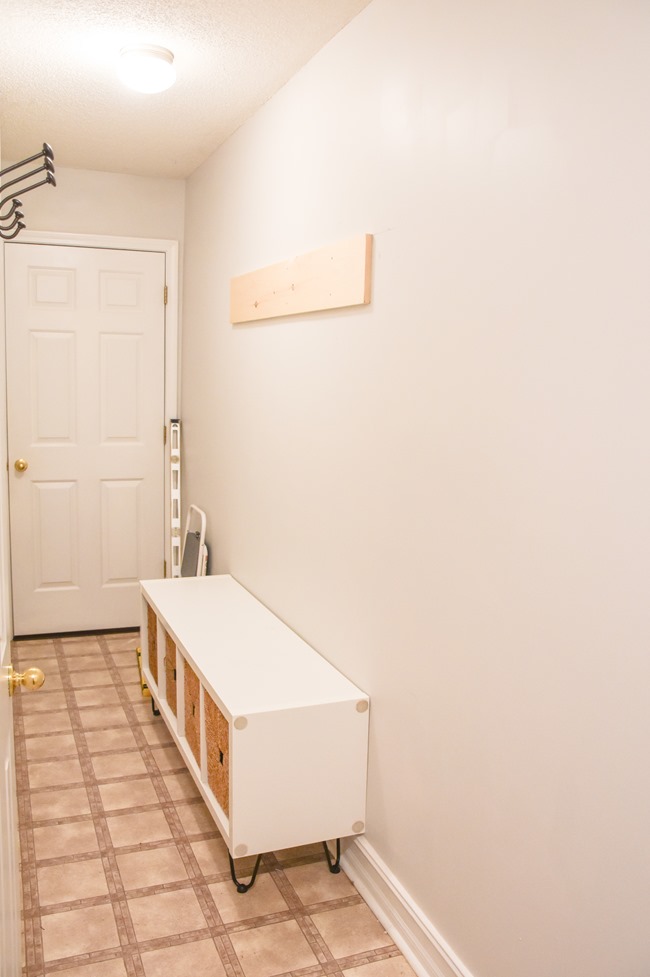
I won’t bother sharing a ton of measurements since this project is so specific to using this cubicle unit and to our home but just for reference, once the legs were installed the top of the bench is 24 inches high and the top of the hook board is at 6 foot high. The cube unit is 58 inches long so the whole hall tree area is 6 foot high by 58 inches wide. I used a 2 x 8 board and made sure to get it anchored well into studs. Once that was set the rest of the shiplap area went on fairly quickly.
I used a 1×2 board on the sides to trim it all out and cut it to sit right on top of the cube unit so it looked built in.
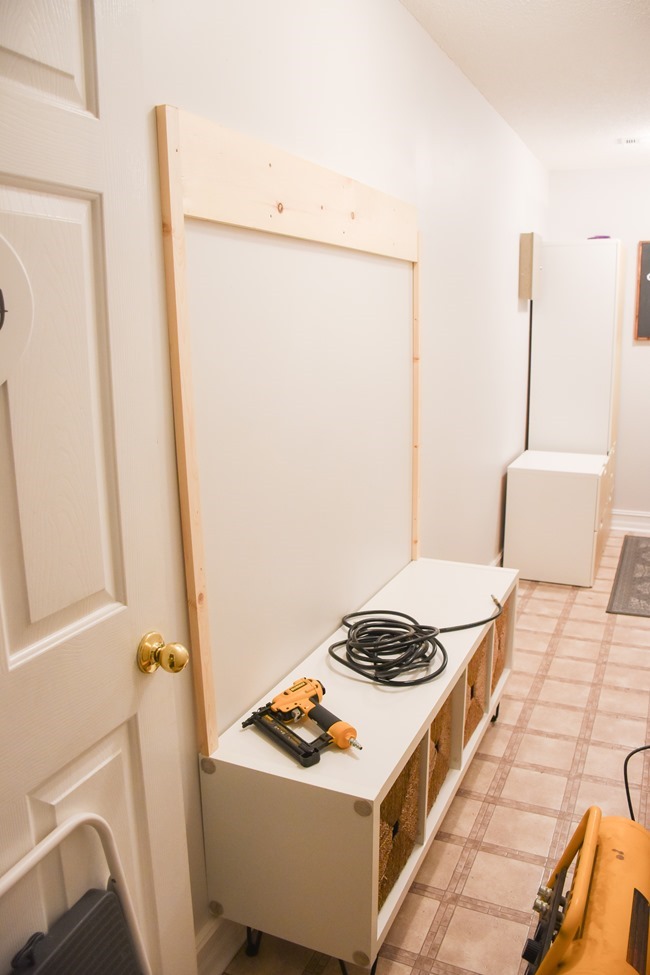
To create the shiplap look I used 1/4 inch underlayment plywood which I had cut down to 12-inch strips at Home Depot and then ripped it down to 4-inch strips on our table saw at home. I did a detailed tutorial on how to do faux shiplap when I did an entire shiplap accent wall in my daughter’s nursery so for more details on the faux shiplap process, check out this post. Once I cut the shiplap pieces down to the right length they were up on the wall in less than 10 minutes using a nailgun and a quarter as a spacer in between the boards I don’t like to glue mine up just in case we ever need to remove them but you can absolutely use glue or adhesive if you wish.

I added a 1×3 piece of wood on the top as a ledge and some corbels from Osborne Wood that I had from a conference swag bag just to be a bit of a decorative touch. All the seams and the screws on the top board got caulked and sanded and then the whole thing got 2 coats of off the shelf Behr Marquee paint.
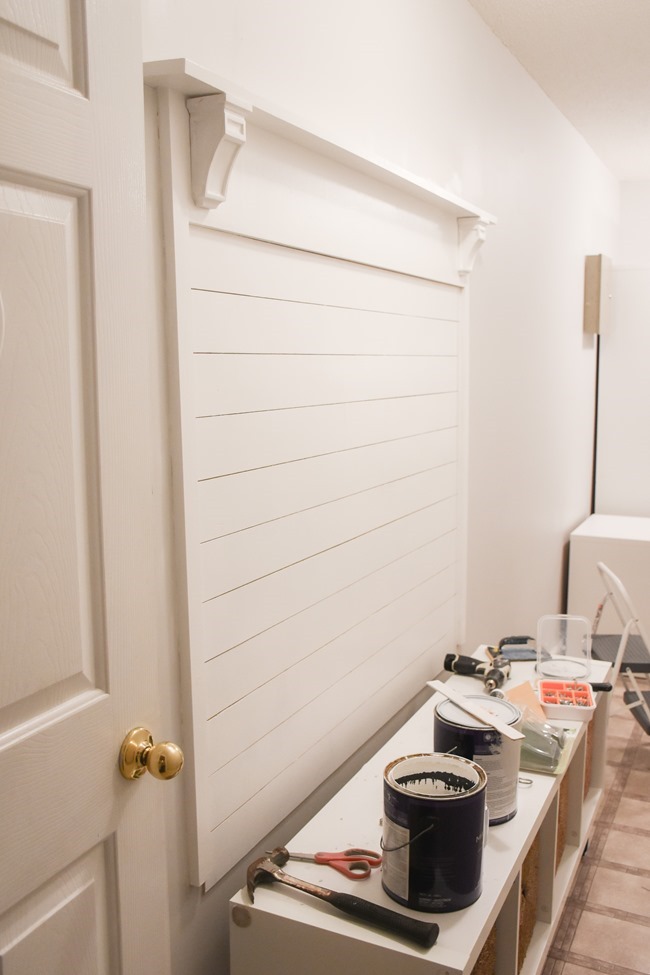
I saw these hooks a while back in someone else’s house and saved them in my Amazon cart just for this project – I love the way the look and they are great deal – find them here! I used 5 of them on this project and will use the other 5 on another project I have planned.
Once those were attached it was all finished!!
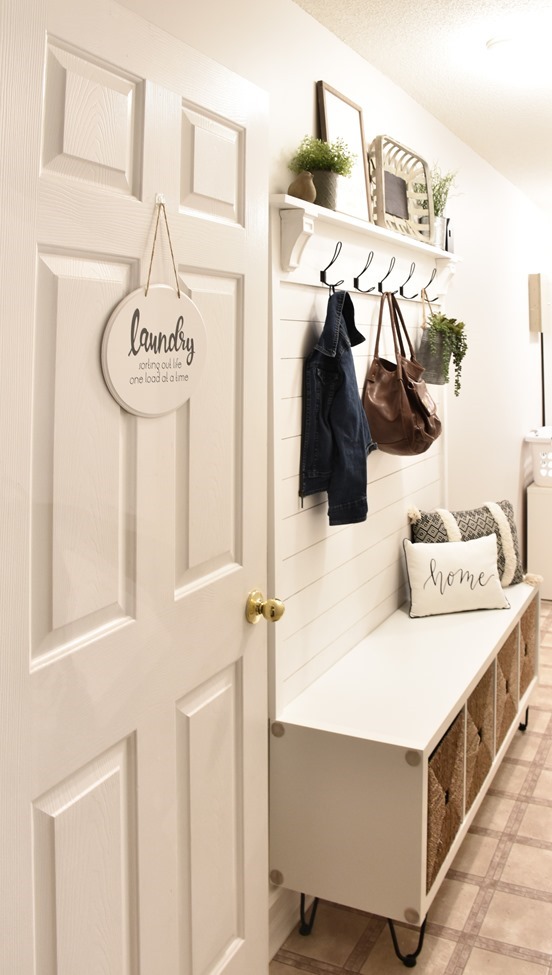
I absolutely LOVE how it turned out! And it provides tons of added storage, function, and of course farmhouse style to this spot.

The baskets hold lots of kids shoes and the hooks are the perfect spot to hold jackets, backpacks, purses and maybe a tiny spot for me to even hang some decor! ![]()

This is probably the prettiest and most cohesive it will look as I sort of styled it for this post but honestly I think even multicolored backpacks and jackets all look better when hung on cute hooks on top of shiplap. ![]()

Here’s the view from the other side… plenty of room to carry a laundry basket in and out especially since I won’t be tripping over shoes and bags in the floor.

And the bench is completely mobile and can be moved completely out of the room if we ever need to replace our washer/dryer or move.
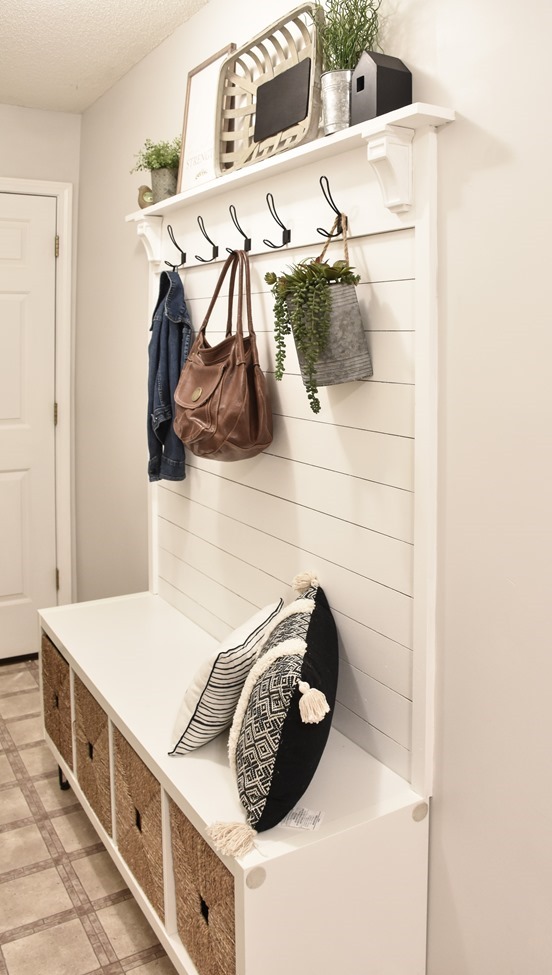
I love to DIY and decorate our home on a budget and if you have followed me for long you probably recognize where some of the decor came from…
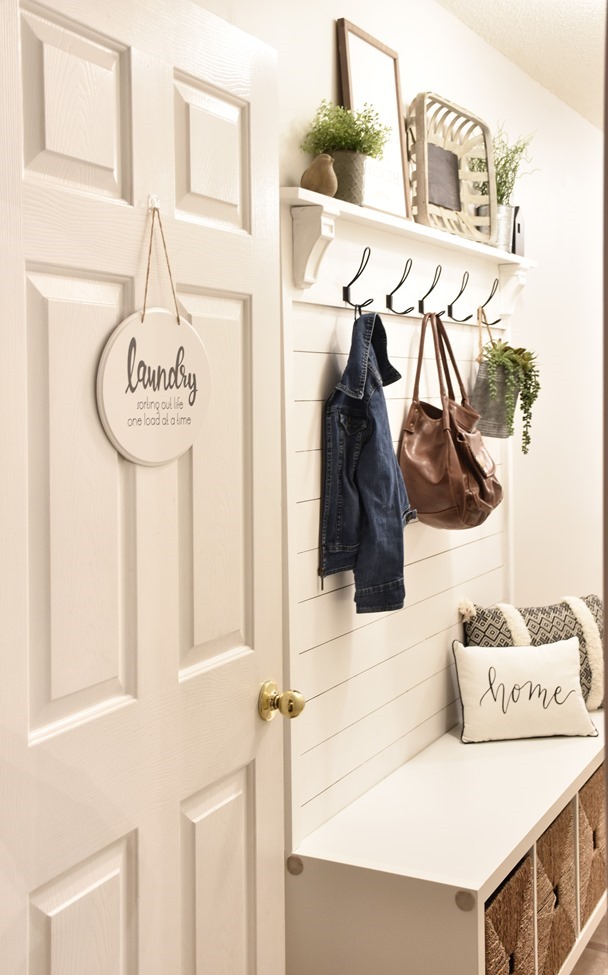
The tobacco basket was a 90% off after Christmas Hobby Lobby find, the black house was a 90% off Target Christmas clearance find, the tin and plant came from Hobby Lobby and the other one came from a yard sale. The sign was a spring or summer 80% Hobby Lobby find. And if you follow me on Instagram you saw me snag that black and white pillow for $3.50 on clearance at Walmart this week!

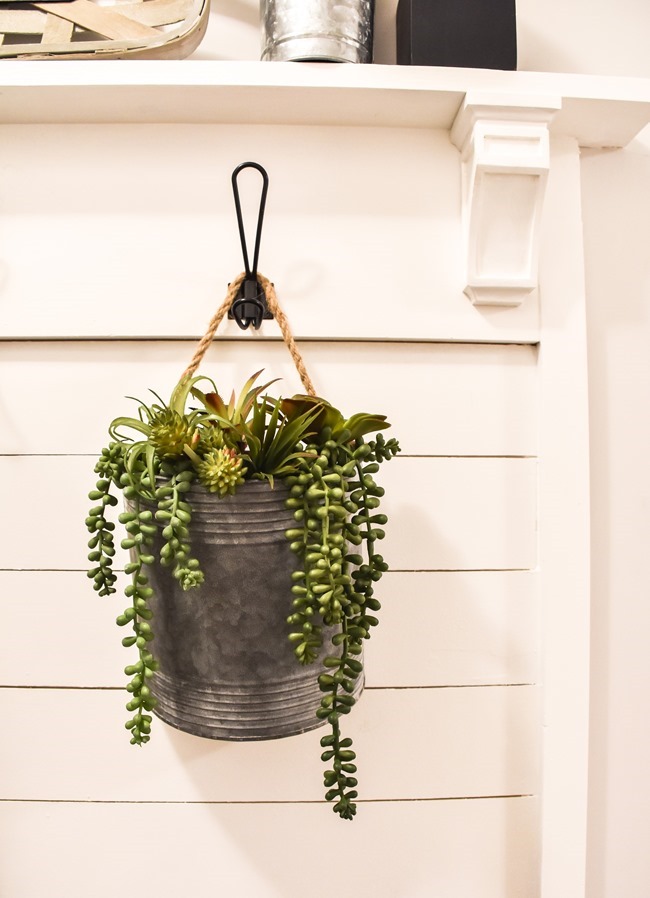
The Home pillow is in the new line in the Target dollar spot along with all the succulents in the hanging tin basket (tin bin came from the current Hobby Lobby spring line).
The Laundry sign on the door is also from Target dollar spot last spring but they have one that is almost identical that just came out in the new spring line.

As far as my plans for the rest of the room… tackling the flooring just moved way up on my list to do. Once the flooring is changed out I am seriously considering taking off the door to this room so this pretty hall tree isn’t hidden behind it! ![]() Not having a door will also serve as quite the motivation to keep the laundry area clean and baskets not overflowing with dirty or clean laundry.
Not having a door will also serve as quite the motivation to keep the laundry area clean and baskets not overflowing with dirty or clean laundry. ![]() Always lots of projects to do but I am so glad I finally crossed this one off the list! Figuring out the logistics of it had me stumped for a while but once I finally figured out how to make it work this project was a fairly quick and simple project.
Always lots of projects to do but I am so glad I finally crossed this one off the list! Figuring out the logistics of it had me stumped for a while but once I finally figured out how to make it work this project was a fairly quick and simple project.
There are 40 other bloggers sharing their DIY organizational projects and I’d love for you to check them out below! Tons of inspiration for you to get to work on your own organizational project! 🙂

What a great idea Christina! I love how cohesive it looks, even though it’s not a single unit. Great job! So happy to be sharing our ‘Build to Organize’ projects 😉
This bench is perfect and I have enjoyed watching you share it on your IG stories.
I love your hall tree! It looks pretty, it’s functional and easily moved if necessary! Another great idea, Christina,
I love that you created mudroom storage from a blank wall! Great job and thanks for sharing!
Brilliant, Christina! So super jealous of your ability to have a hall tree! glad to be hopping around with you this year 🙂
You did such an amazing and professional job, Christina. This whole space is perfection! Thanks for inspiring me.
Very pretty, yet functional. I really like how you thought ahead to not permanently obstruct any future projects (e.g flooring, washer/dryer).
What a beautiful functional project. You did great girl!
Woah, What a great makeover girl! LOVEEEEE! Adding to my must do list.
What a great project!!! I soooo want that in my house!! Looks absolutely beautiful!!!
Beautiful. The space looks great now!
Gorgeous build and laundry room!
This is just gorgeous!
I absolutely love this. We have been looking at ways to do something along the same lines in our laundry room. We have the wire shelving and I am not a fan of it.
Christina!! This is an awesome project! And I love love love what you did in the laundry area with the $100 Room Challenge! It all looks so pretty – great transformation!!
Well- what a difference 2 years makes! Seriously this is a great upgrade and a perfect way to increase your storage in that space and create something appealing and fashionable. Love how narrow it is too (without the optional cubbies at the floor). Really nicely done! The cupboard over the washer and dryer too. So good.
I love this, so pretty! You guys did a great job! We would love to have you share your project at Celebrate Your Story! The link party opens this evening at 7:00 pm CST! Have a great day!
Hi, I left a comment earlier, but I don’t know if it made it through since our internet went down just as I was posting. If it shows up twice, please excuse the additional comment. I love this project and think that you guys did an amazing job! So wonderful! Please consider sharing your project at Celebrate Your Story link party. It begins tonight at 7:00 p.m. CST! Thanks so much! Hugs!
Love this so much I went out and bought the stuff to make one in daughters house! One question. How hard was it to attach the metal legs on a hollow shelf unit? I bought mine from Walmart and it’s on its way!
Hey lady great job love it … curious what sheen did you use for the off the white to paint it ??? Thanks hun 🙂
We just finished this project and I absolutely LOVE how it came out. Thank you so much for the inspiration!
Just asking cause I’m about to build this for my wife, but if on the side you used 1×2 doesn’t that mean the top board anchored to the wall has to be 1×8? If it’s 2×8 it would come out 1 inch further than the sides and in your photos it looks flush to the sides.