This post is part of a 31 day series – “31 days to decorate your home on a budget.” You can read all the posts in this series here.
And if you don’t want to miss a post you can subscribe by email, join me on facebook, or follow this blog in your reader. Thanks for reading along!

Curtains, drapes, etc. – are one of the hardest things for me in decorating my house! It shouldn’t be, but for some reason, it is! ![]() For a couple reasons: I am very indecisive, store-bought curtains are expensive, and fabric can be expensive too!
For a couple reasons: I am very indecisive, store-bought curtains are expensive, and fabric can be expensive too!
But when I finally decide and finally find something affordable, I LOVE them!
These are the curtains that I have in my living room.

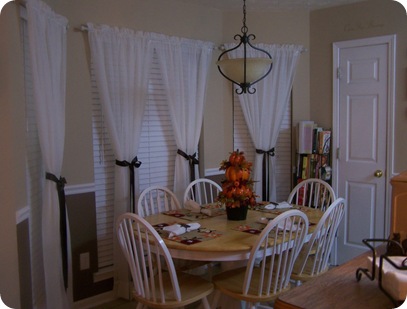
I wanted to add a pop of red in my living room, couldn’t find any material I liked, but I did find some curtain panels at Target that I loved. BUT, they were $29.99 a panel and I needed FOUR ![]() . NOT in the budget at all!
. NOT in the budget at all! ![]()
I even bought one and brought it home “just to see if it worked” and of course I loved it, but they were a little too wide/had too much material. 
When I returned the panel back to the store, I checked the curtains again and they were marked down to $14.98 a panel – woohoo! Gotta love Target clearance! And I figured out that I could take 1 panel and cut it in half longwise making one panel into TWO panels! So I bought 2 panels for $30 total, split them into FOUR panels, and I love them! ![]() And $30 for 4 panels – very budget friendly!
And $30 for 4 panels – very budget friendly! ![]()
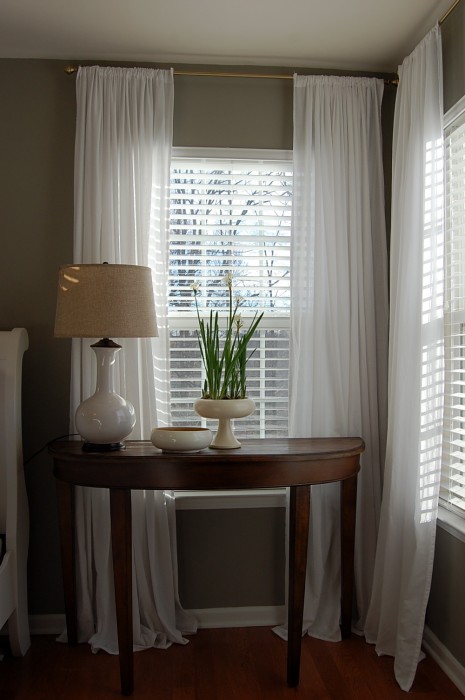
Here are the curtains in my eat-in kitchen.

Crushed voile sheers bought at Kohl’s with a 30% coupon for $6.29 each/ $25.16 for all four. Once again, in my budget! I can pin them to the side like the above picture, or have them hanging in the middle of the window like this…
(sorry for the awful picture! this was taken about 4 years ago and boy am I glad I don’t take pictures like that anymore!)
Now some more inspiration pictures for you!
Nester made these curtains from bed sheets
Hello Newman made these curtains from tablecloths!
Here’s an easy way to make a “pocket” on the back to hang your rod. By the way, she made these curtains from a bed sheet! ![]()

I am loving these painted curtains from Reckless Glamour. (You just MIGHT be seeing something like this soon in my house.)

I am being drawn more and more to bold colors and patterns for curtains – love these! Of course they are from 6th Street Designs who is an Interior Designer, so what is not to love! 🙂 (Want some inspiration – head over and check out her house tour page.)

and bold striped curtains from from Yellow Cape Cod.

And here are 3 tips on how to hang your curtains to make your ceilings look higher, your windows larger, and your curtains more designer-looking:
This picture from Pottery Barn demonstrates all 3 tips – see I told you, designer!


Alison, at House of Hepworth’s just posted a great tutorial on how to make your own lined curtain panels.
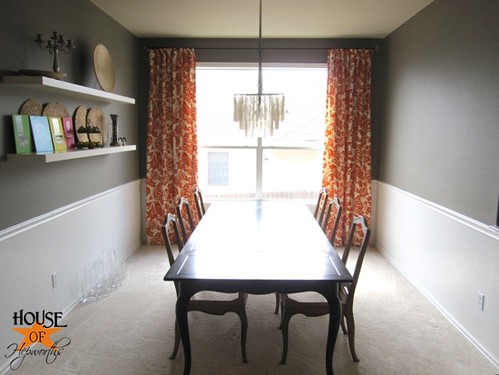
I am in the process of looking for/making curtains for my dining room so we will be talking about this subject again very soon! ![]()
(Update: My dining room is done and so are the curtains. You can see details in my before/after Dining room post.)

How you accessorize your house with curtains on a budget?
{cj}
Been thinking of making those black and white striped curtains for a while! And hanging curtains high and wide makes SUCH a difference, really is amazing!
I love those black and white curtains too! I don’t have a room that they would go in, bu they are definitely in mind if I ever do! 🙂
And yes, I am so glad I learned about long, high, and wide – HUGE difference! 🙂
I need tension rods in two lengths. 96″ space and 76″ space. Curtains for female teen’s room should be full and cover 48″ length. I could sew a strip of contrasting colored fabric within a shorter panel. She mentioned lime or chartreuse and blue.
Any idea where I can order these?